If you’ve ever tried shaking a drink at home, you know it can feel a little clumsy at first. But once you get the hang of it, that rattle of ice becomes meditative. Soon, you realize it's what makes your drinks cold, balanced, and smooth in a way stirring never could.
Still, using a cocktail shaker has finesse behind it that most people don't realize. This guide walks you through the basics so shaking a cocktail feels and looks like you actually know what you're doing.
What is a Cocktail Shaker?
A Brief History of Cocktail Shakers
Versions of the shaker were around in the 1800s, when people started mixing spirits with sugar, bitters, or juice to create new flavors. Early shakers were basically just a mixing glass topped with another cup.
As cocktails became more popular, shakers evolved into polished bar tools with style and presence. Professional bartenders made their cocktail shaker collection a part of the show, tossing them, flipping them, and turning a drink order into entertainment.
How Does a Cocktail Shaker Work?
The magic of a shaker comes down to three things: chilling, dilution, and aeration. When you add ice inside with your liquid ingredients and shake, the ice cools the drink, melts just enough to soften the alcohol, and whips in tiny bubbles. That’s why shaken drinks often have a silky feel and lighter body compared to stirred ones.
Why Are Cocktails Even Shaken?
So why not just stir everything? The answer comes down to science. Shaking changes the drink in ways stirring can’t. Shaking pulls everything together when you’re working with juice, cream, liqueurs, or simple syrup that would otherwise sit in layers. It also adds that light froth you see on top of a sour and chills the whole thing down in seconds.
When Should You Use a Cocktail Shaker?
Some cocktails only come together with a good shake. If the recipe has juice, syrup, cream, or muddled fruit, the shaker is what makes everything blend instead of sitting in layers.
Think about margaritas, whiskey sours, daiquiris, cosmopolitans, Ramos gin fizzes, or even an espresso martini. All of them need that shake to hit the right texture and flavor.
And remember James Bond? He ordered his vodka martini “shaken, not stirred,” a habit he picked up from his creator, Ian Fleming. Fleming believed shaking pulled more flavor out of the drink. Bond’s choice was also about style, of course! Watching someone shake a martini looks far more dramatic than quietly stirring it, and 007 always had an eye for performance.
Types of Cocktail Shakers
There are three styles of shakers, each with its own personality.
Boston Shaker
This shaker is a favorite among bartenders. The Boston shaker is made up of a large metal tin and a smaller tin (or sometimes a mixing glass) that creates the seal. It doesn't have a Hawthorne strainer, so you'll need a separate one for this type of shaker.
Cobbler Shaker
A cobbler shaker is one that has three pieces: tin, lid, cap. There's a built-in strainer in the tin. It’s user-friendly and great for home bars since it makes the process simpler by combining everything together.
French/Parisian Shaker
This shaker is like a blend of the two above. It's a two-piece, all-metal shaker with a larger base and smaller, fitted metal lid. Since it doesn't have a built-in, fine-mesh strainer, you'll need to get a separate strainer to shake your cocktails.
Parts of a Three-Piece Cocktail Shaker
Cocktail Tin
The cocktail tin is the main body of the shaker that holds everything. Because it’s made of metal, the cocktail tin chills quickly as you shake, which is exactly what you want for a cold, refreshing drink. You toss your ingredients in, add ice, and it does the heavy lifting while you shake.
Cocktail Strainer
Built into some designs, the cocktail strainer keeps ice and solids from landing in your serving glass. If your shaker doesn’t have one, you’ll need to place a separate strainer over the top.
Cocktail Cap
A small cap that fits over the lid, the cocktail cap seals the shaker completely. Inside, there’s usually a rubber gasket that keeps the fit snug and prevents leaks while you shake. Many people also use it as a quick measuring tool when they don’t have a jigger (the bartender’s version of a shot glass).

Step-by-Step: How to Use a Cocktail Shaker Properly
Follow these simple steps, and you’ll be mixing drinks like you’ve been doing it for years.
Step 1: Fill the Shaker With Ingredients and Ice
Use a jigger or shot glass to measure so your drink stays balanced. Once everything’s in, add fresh ice until the container is about two-thirds full.
Step 2: Seal the Shaker Securely
If you’re using a Boston or French shaker, simply place the two pieces together with a firm tap so they lock tight.
With a Cobbler, line up the lid and cap, then push them into place. Check the seal before you start shaking because nothing ruins the mood like a leaky shaker.
Step 3. Shake With Style (and Technique)
Start simple. Grab the shaker with your dominant hand on top and the other on the bottom, bring it up to your shoulder, and shake vigorously with a firm back-and-forth motion.
That's it! Pretty simple, right?
Once you are comfortable doing that, you could play around and add a little style. Switch it from one shoulder to the other for a little flair, or make a small circle with your motion instead of a straight line.
Step 4. Open the Shaker Carefully
Boston and French shakers open with a quick tap on the side where the two pieces meet, then a twist to break the seal.
Cobbler shakers can stick when they’re cold, so hold the tin with one hand and ease off the lid with a twisting motion, back and forth, until it pops free. Take it slow and keep the shaker upright so you don’t lose half your drink.
Step 5. Strain the Drink Into Your Glass
If your shaker has a built-in strainer, just pop the cap and pour straight into your serving glass. If you’re using a Boston or French shaker, it's essential to place a strainer on top before you pour. Garnish, serve, and enjoy!
Common Mistakes to Avoid

-
Not enough ice: Your drink won’t get cold and will taste flat.
-
Over-shaking: You don’t need to punish the drink. Too much shaking will over-dilute it.
- Weak seal: Nothing ruins the moment like sticky liquid spraying across the table. Always check the lid.
Don’t worry if you slip up. Even professional bartenders spill now and then. The trick is learning fast and keeping a towel nearby.
Pro Tips for Using and Maintaining Your Shaker
Always use fresh ice since old cubes carry freezer flavors. Rinse the shaker after each use so smells and residue don’t stick. When a recipe calls for cream, give it a few extra shakes to build that silky foam.
And keep a jigger or shot glass close — measuring keeps drinks balanced far better than eyeballing.
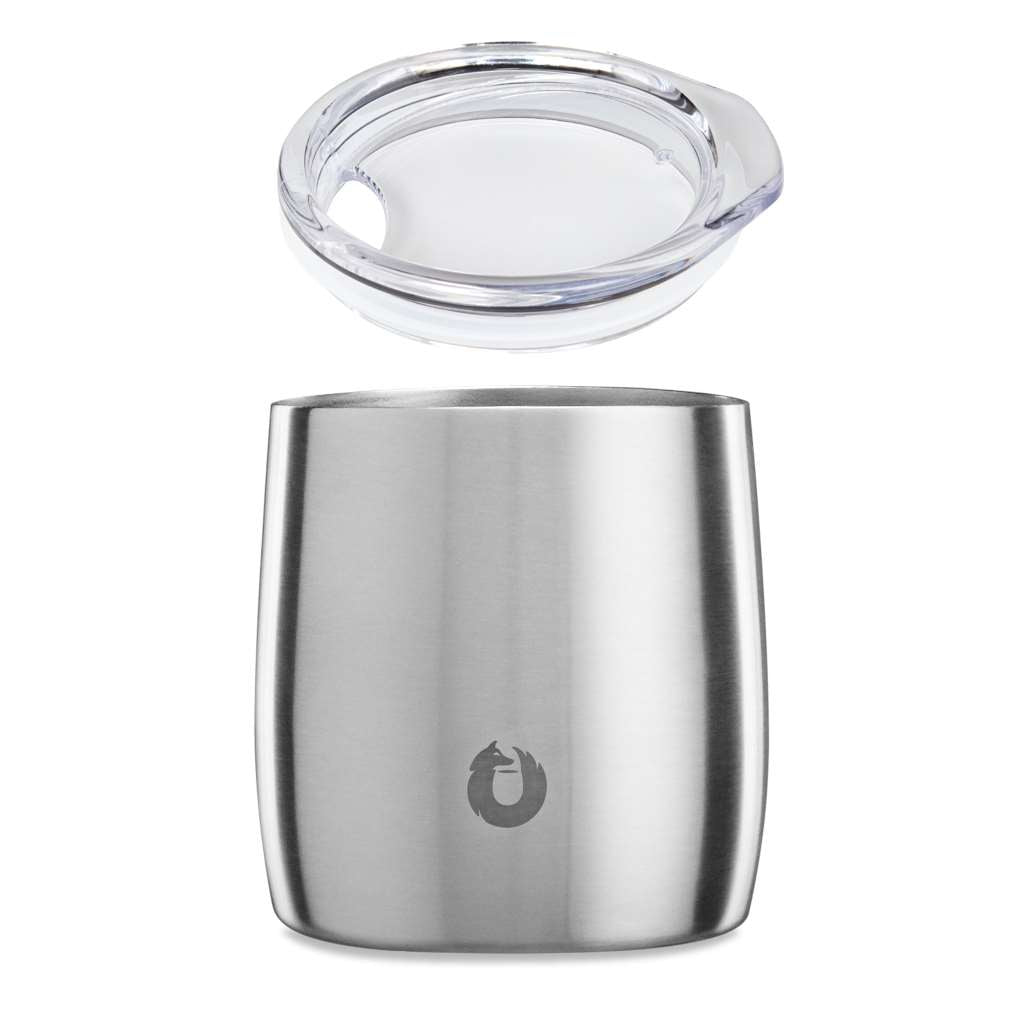
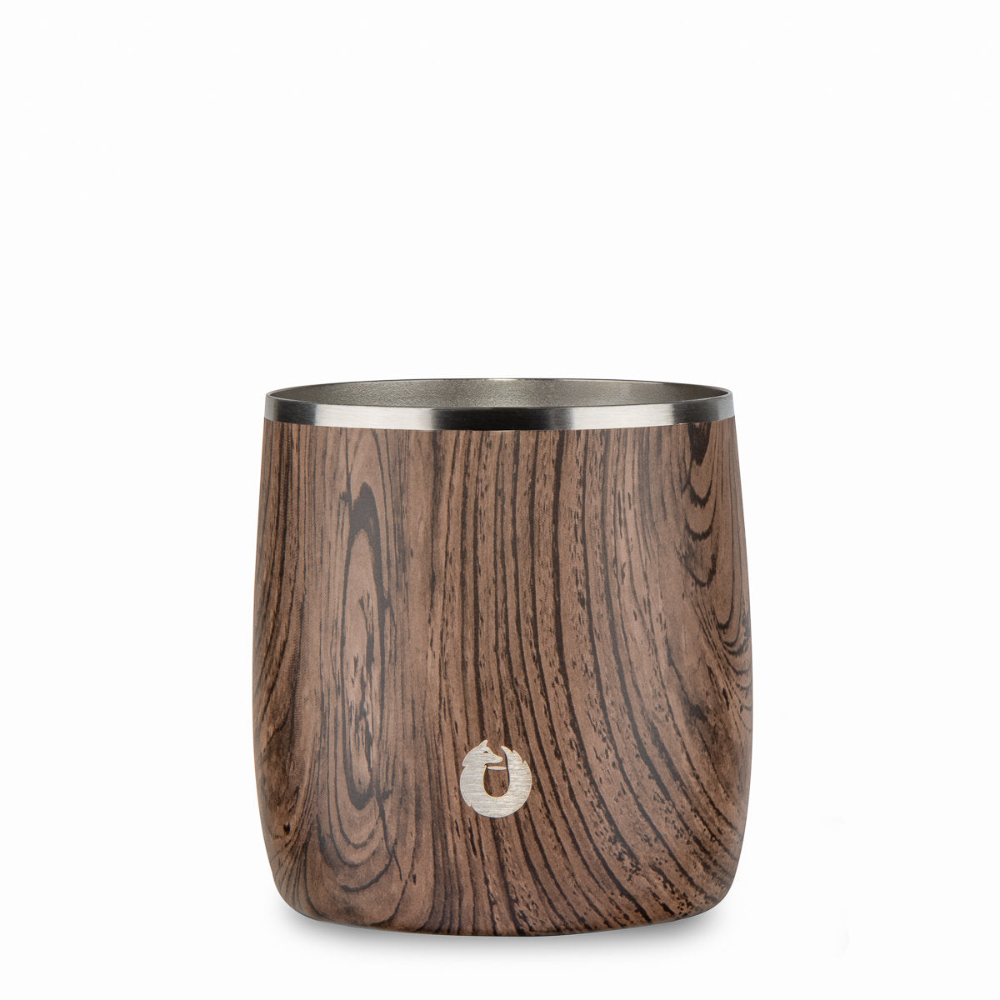
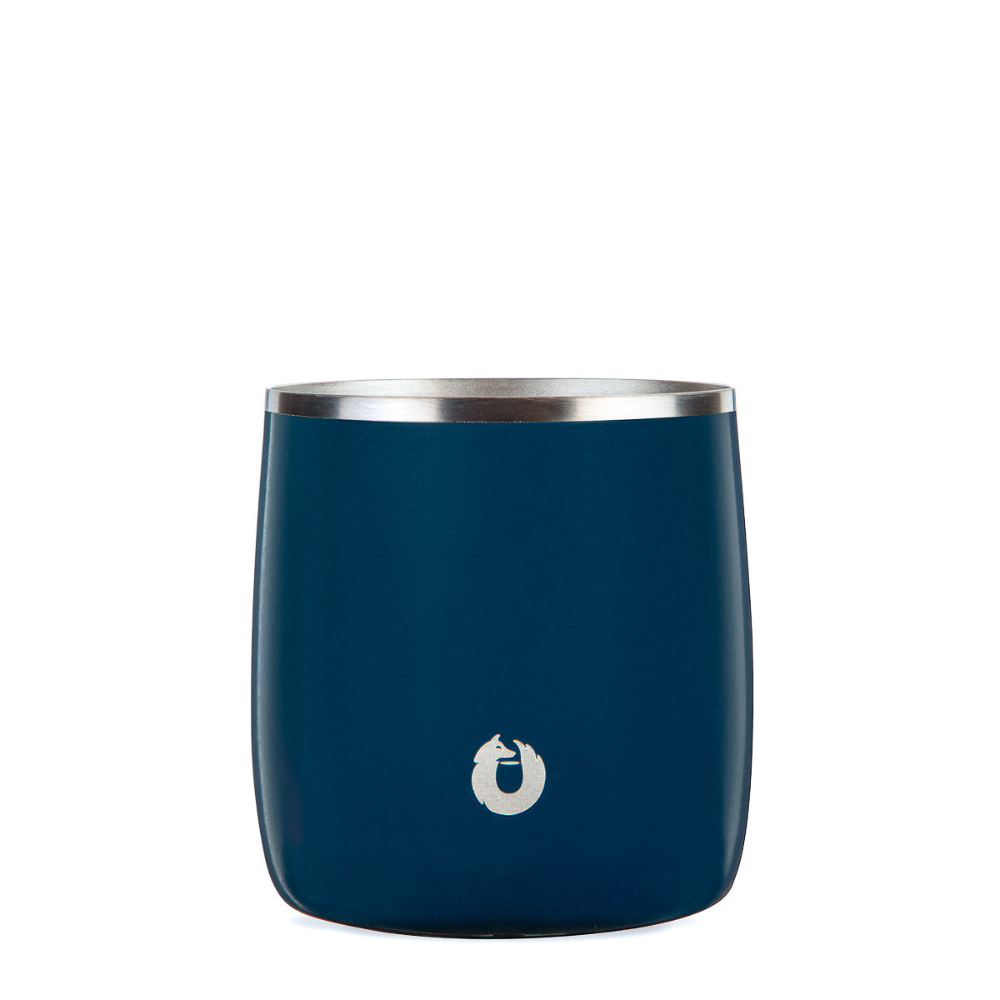
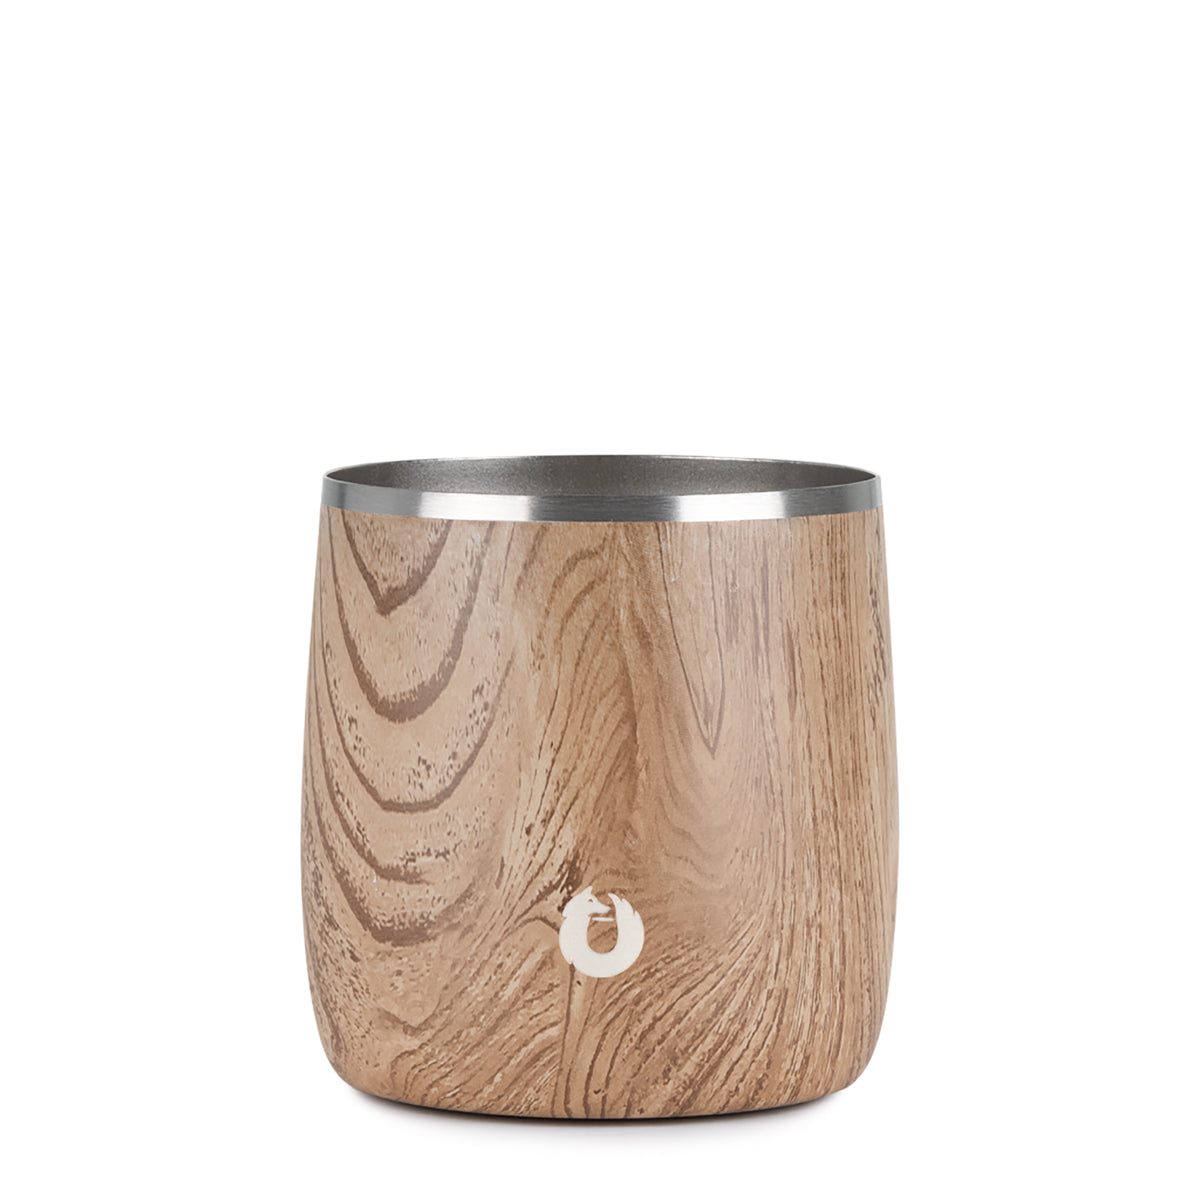
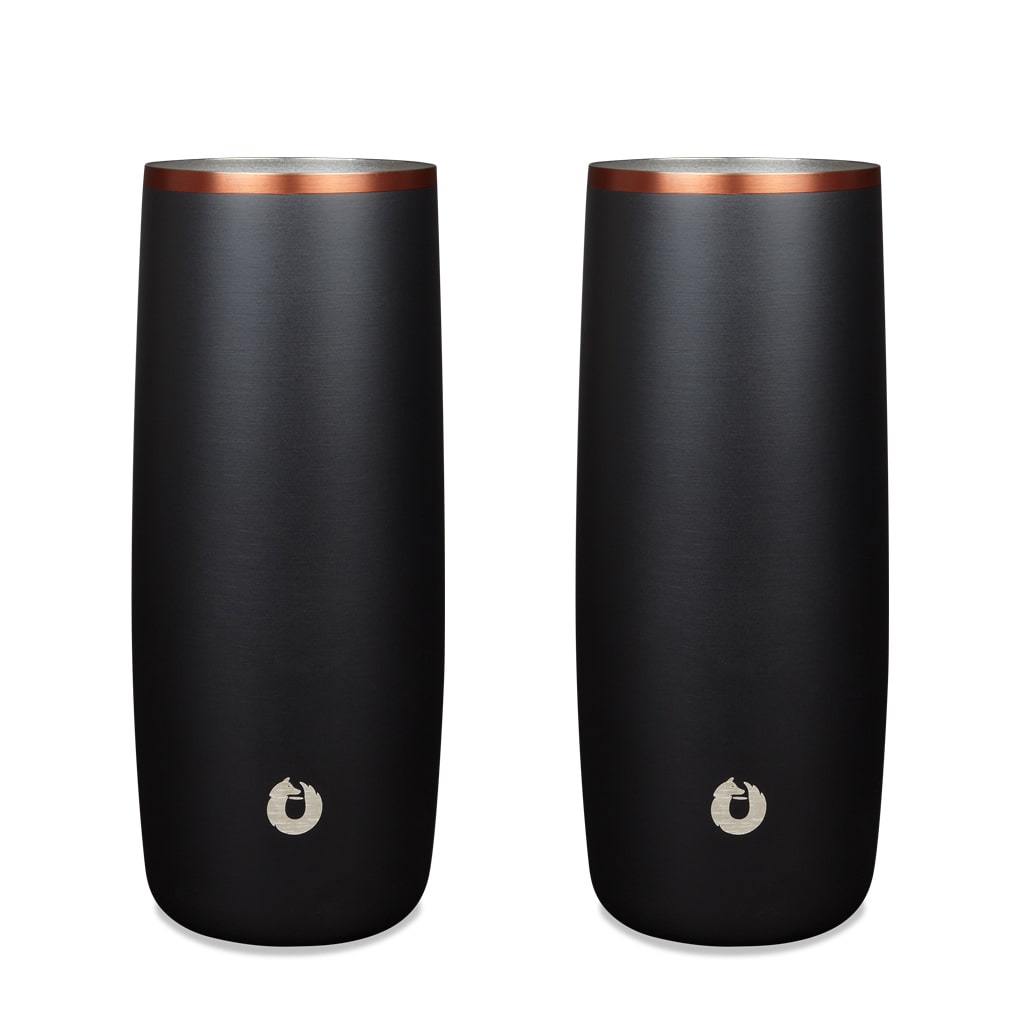
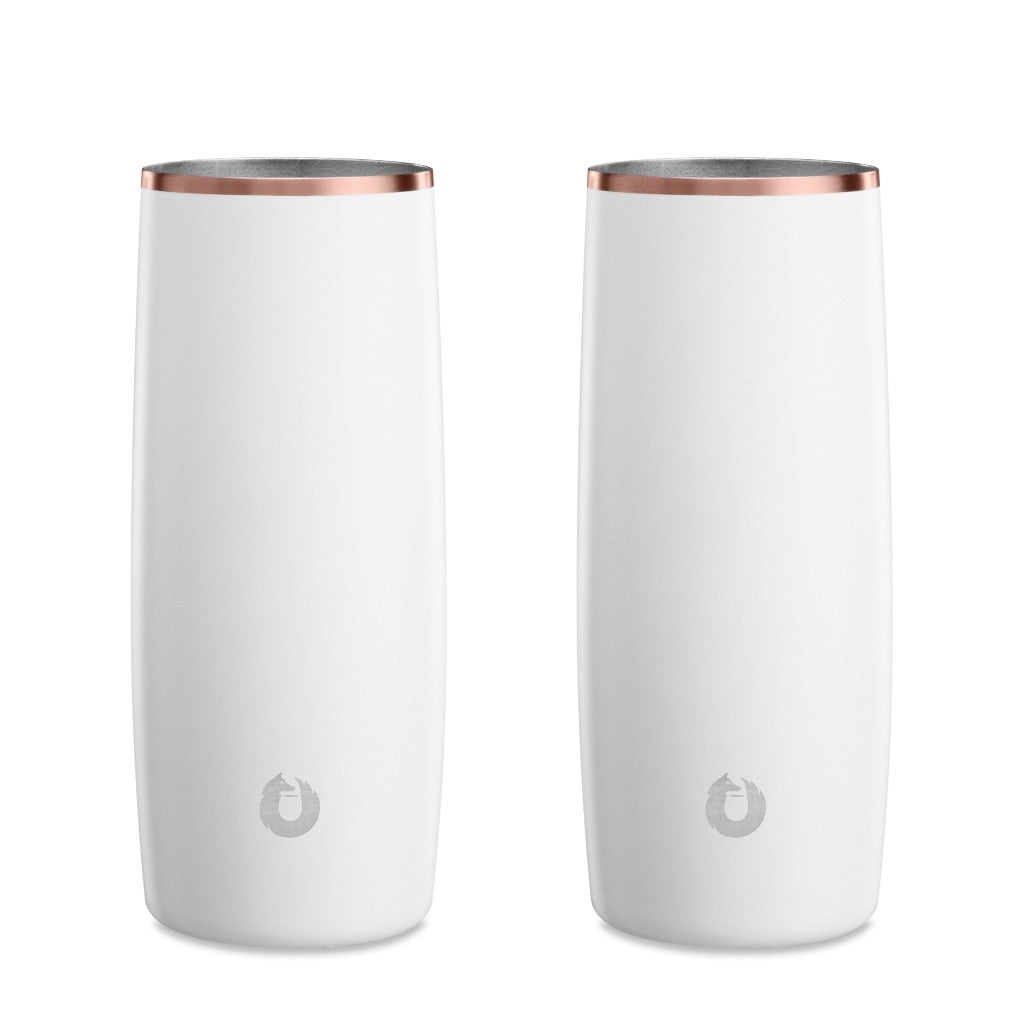
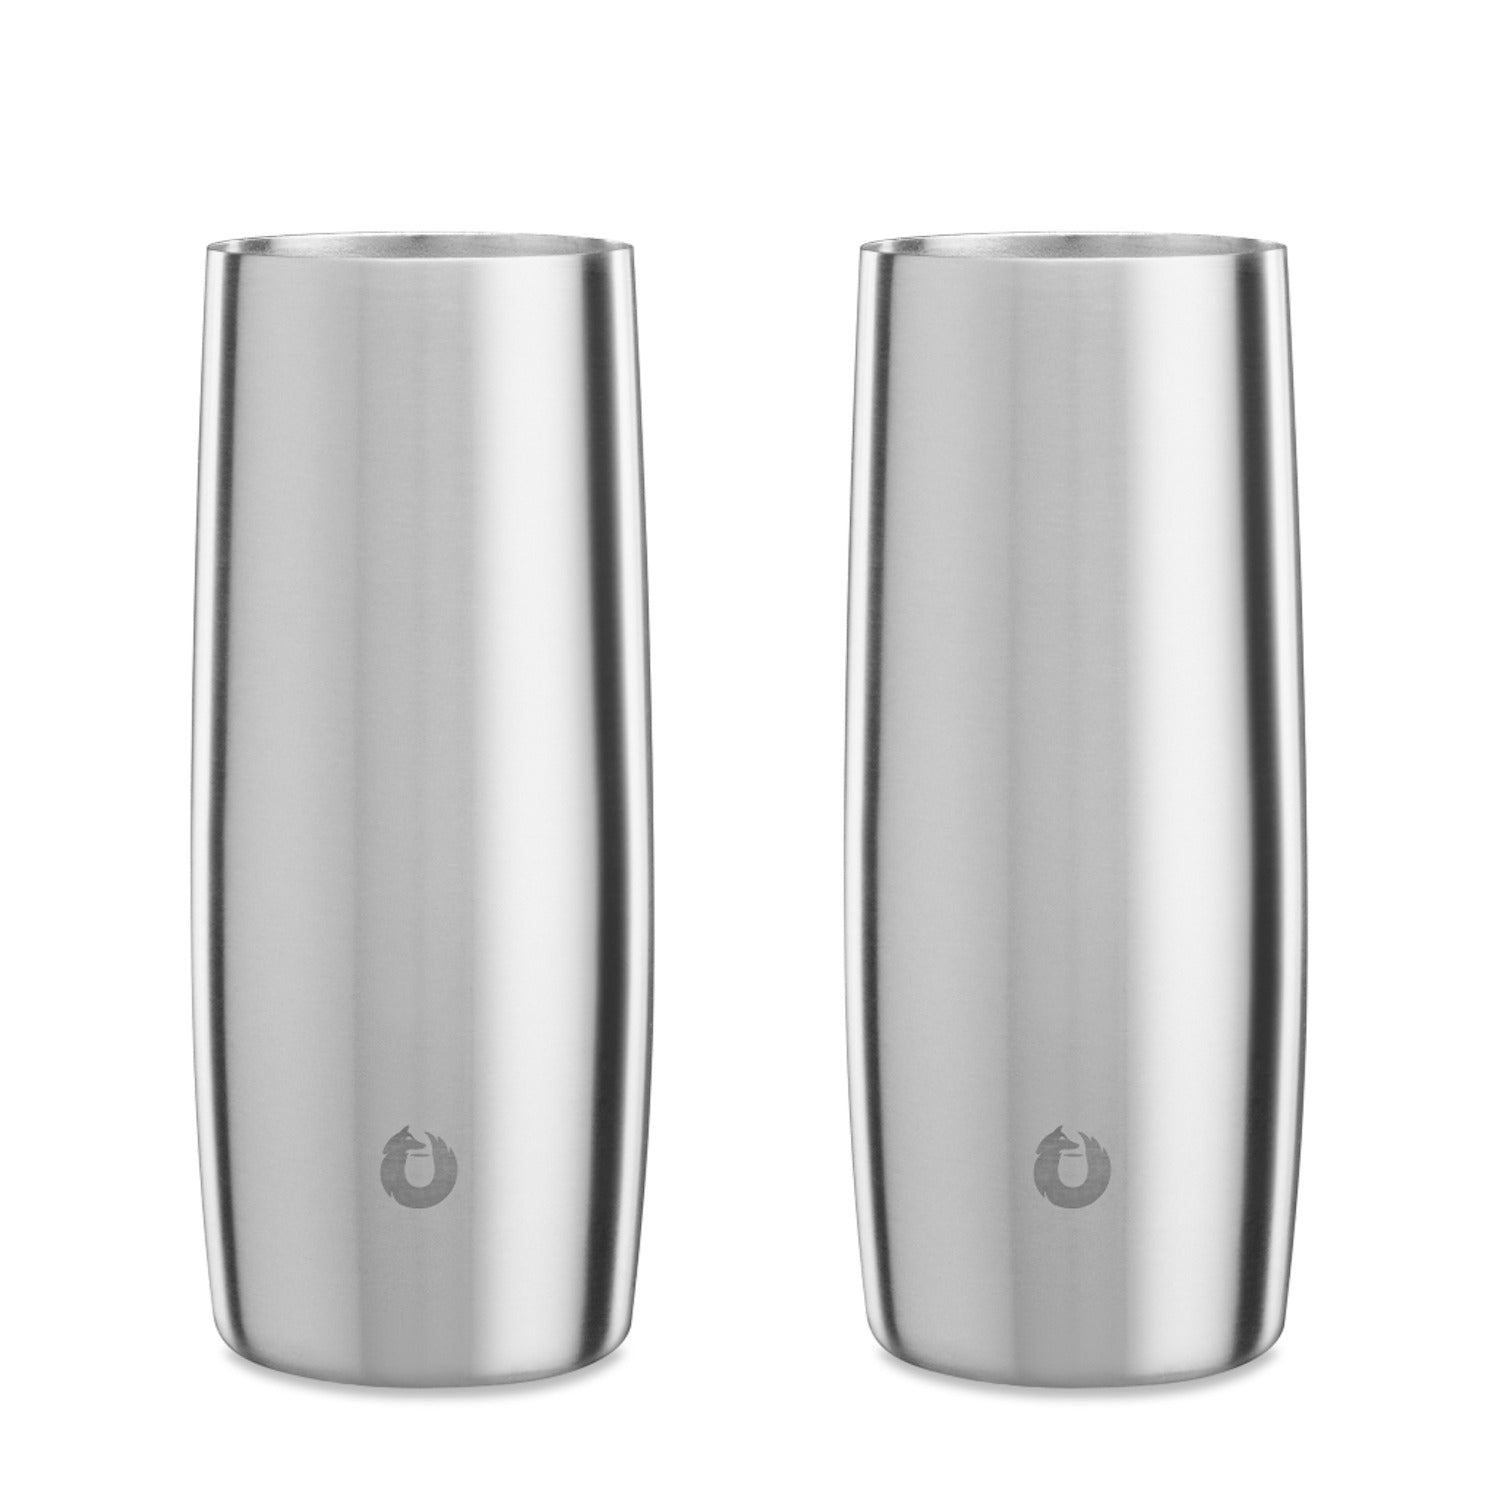
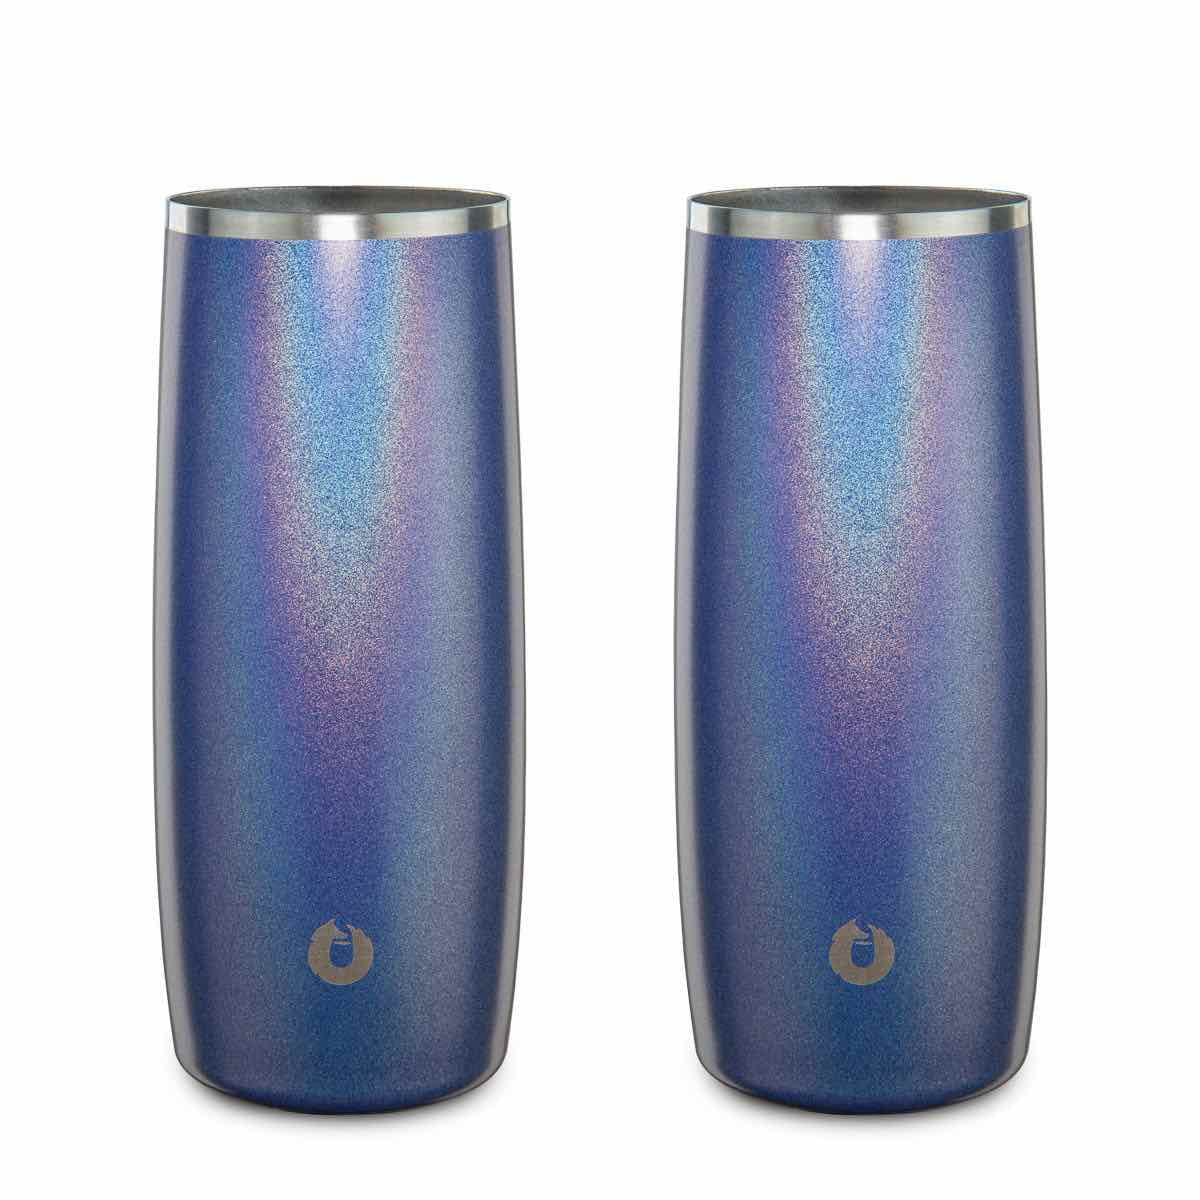
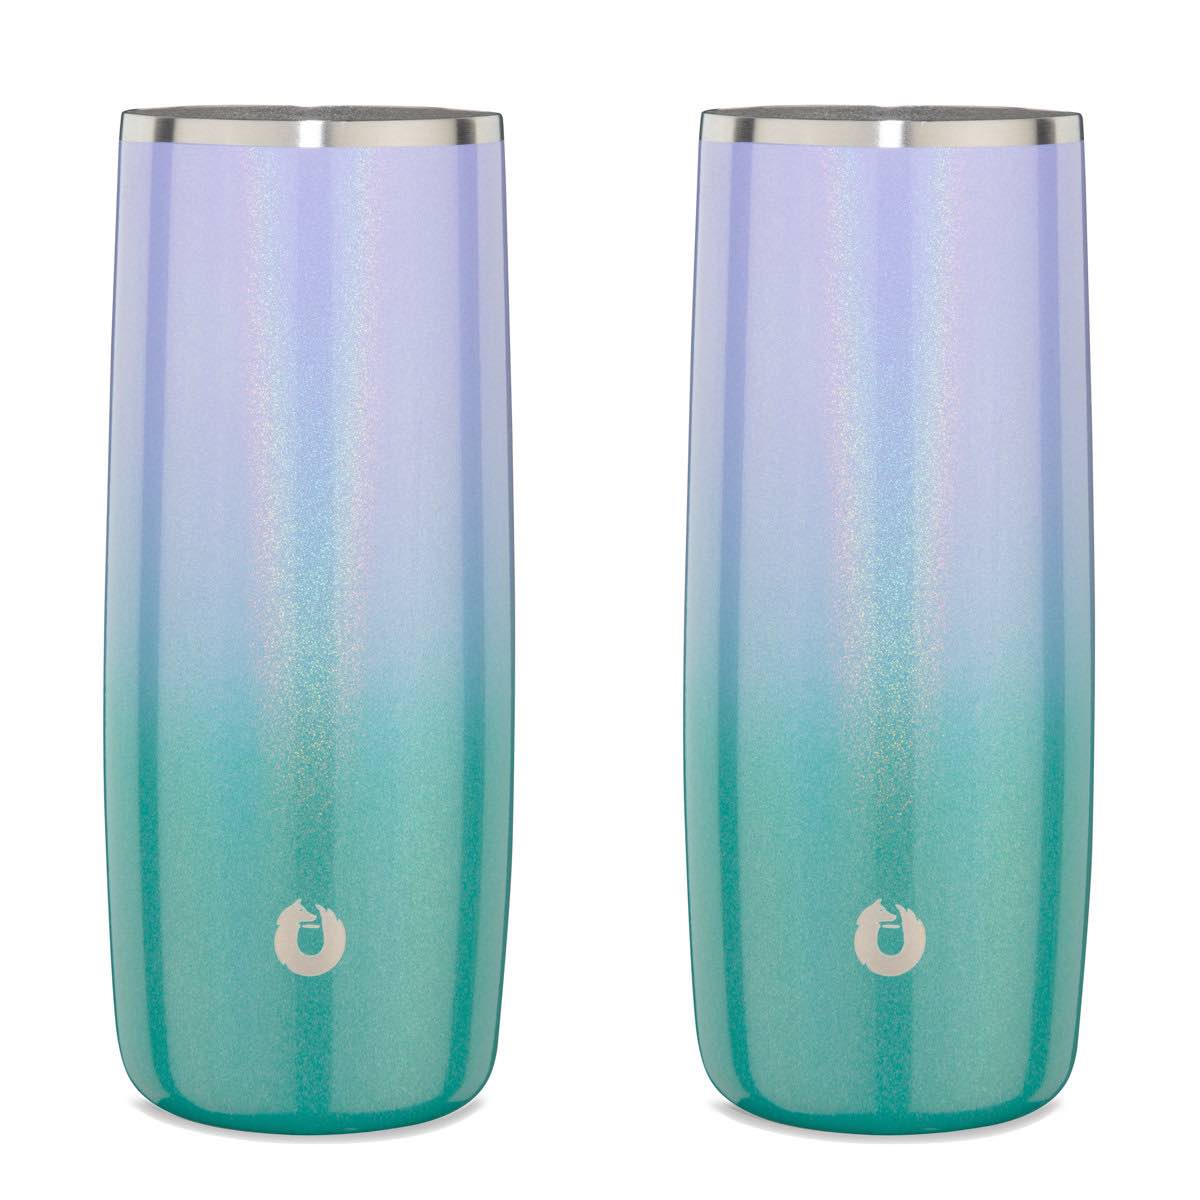
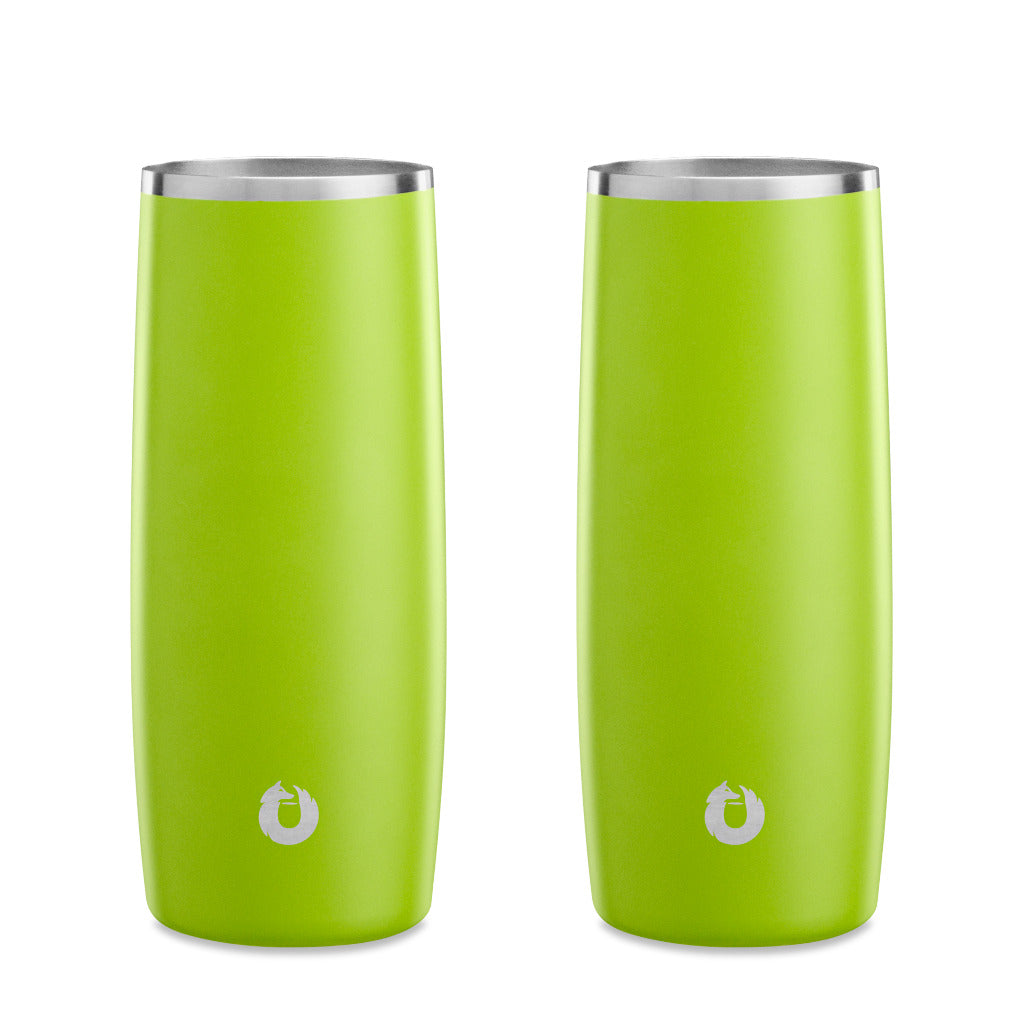
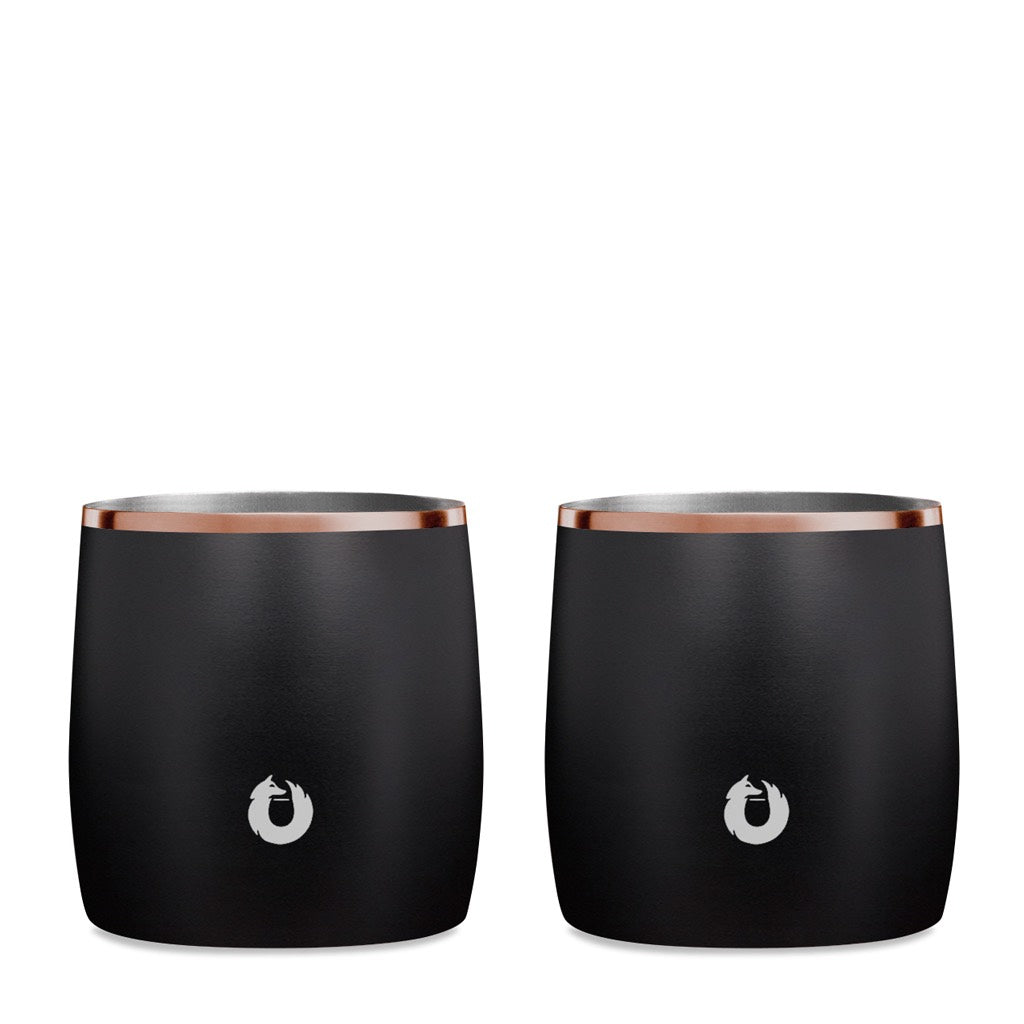
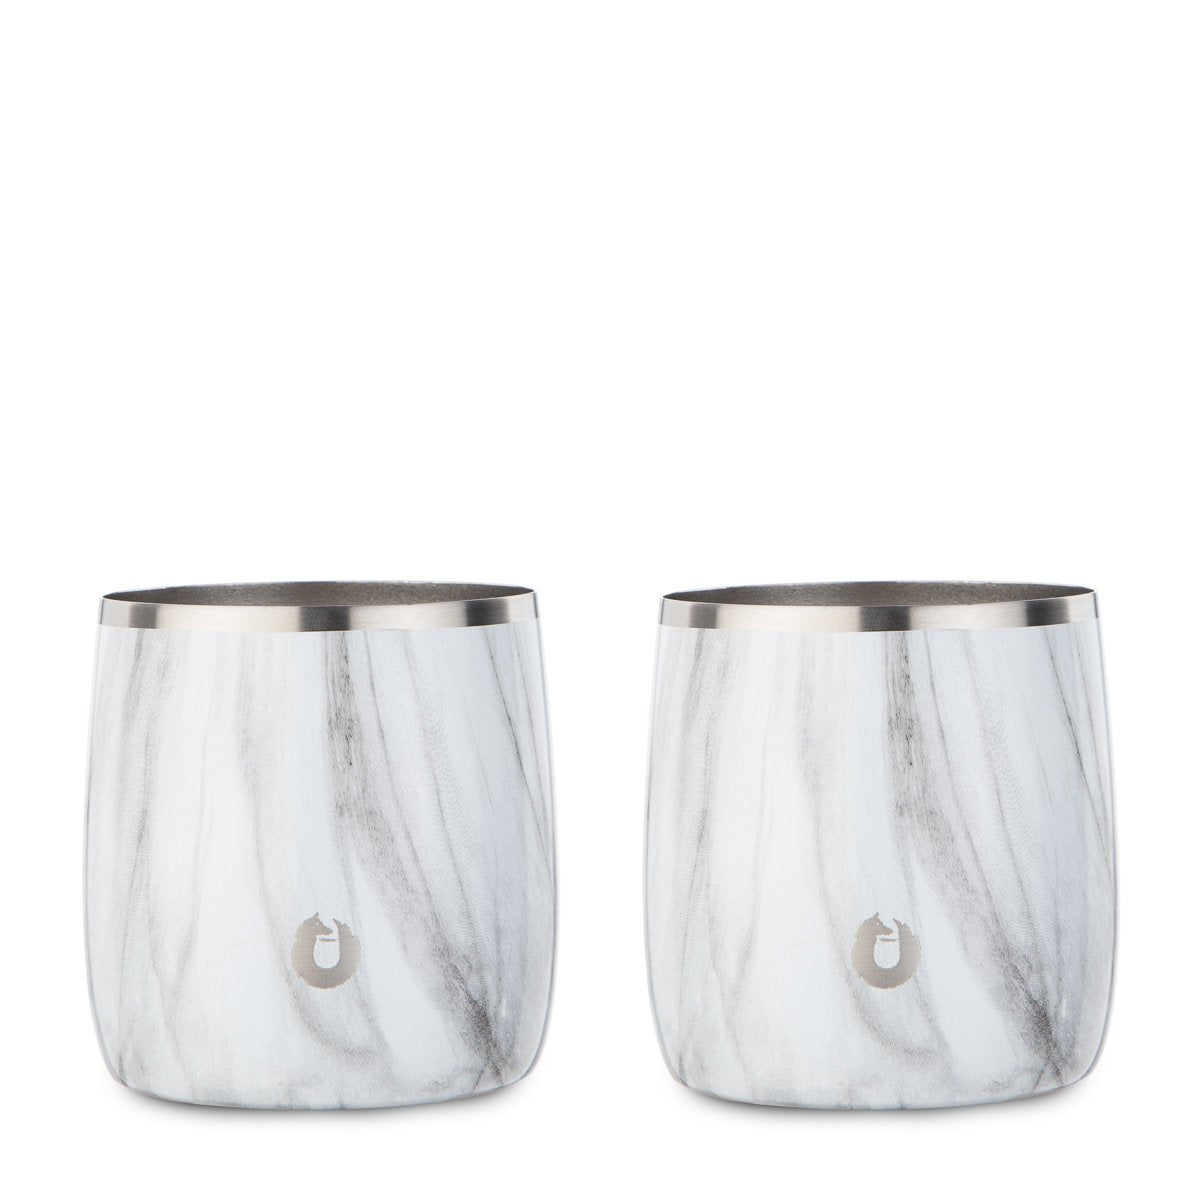
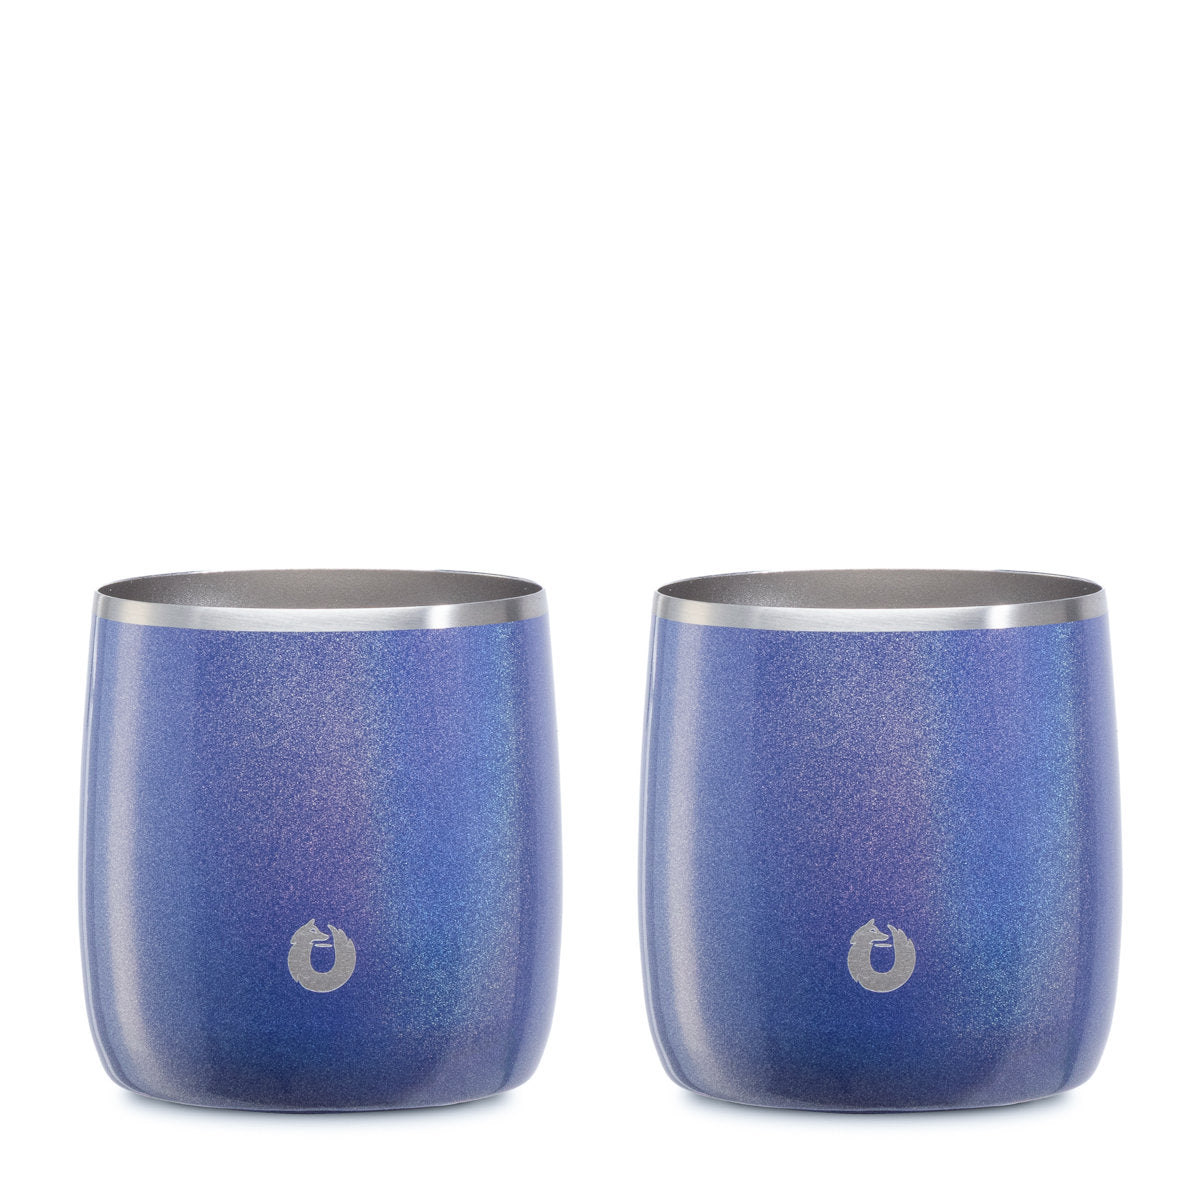
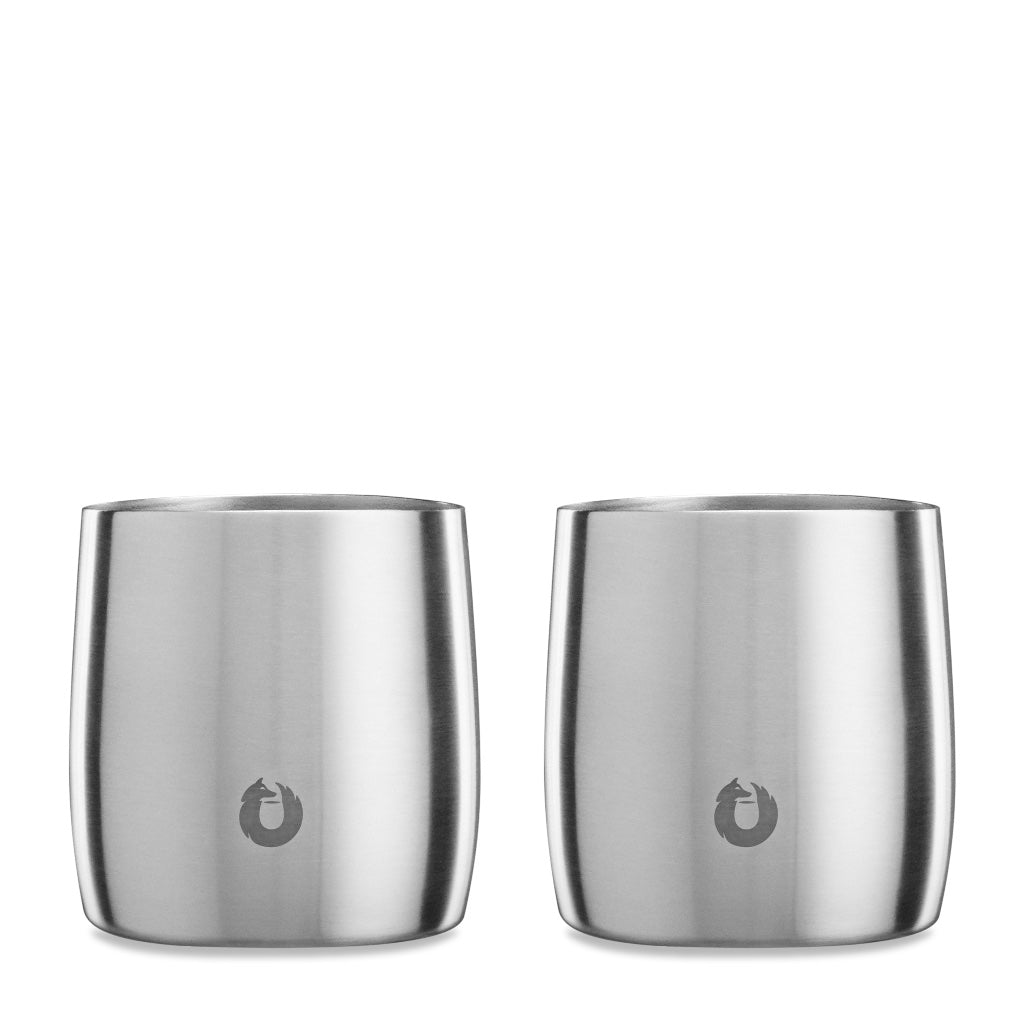
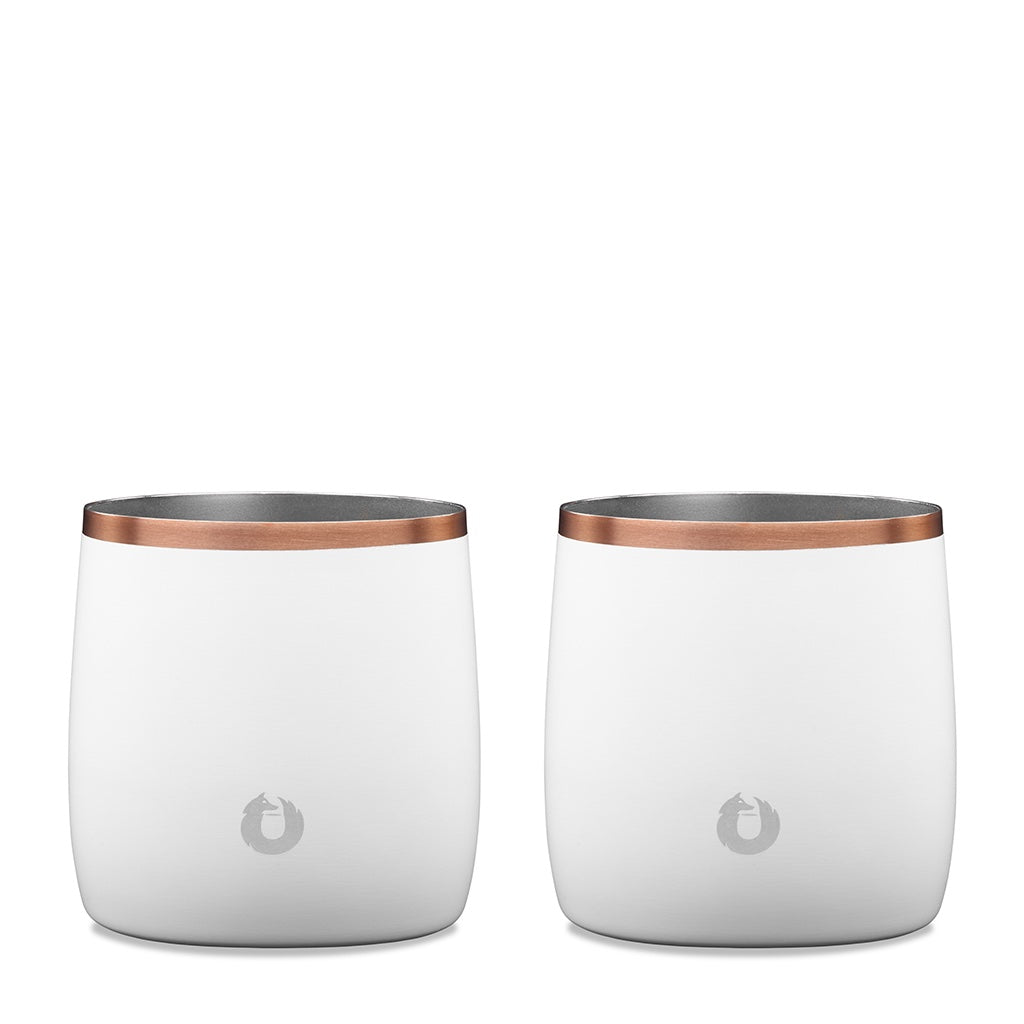
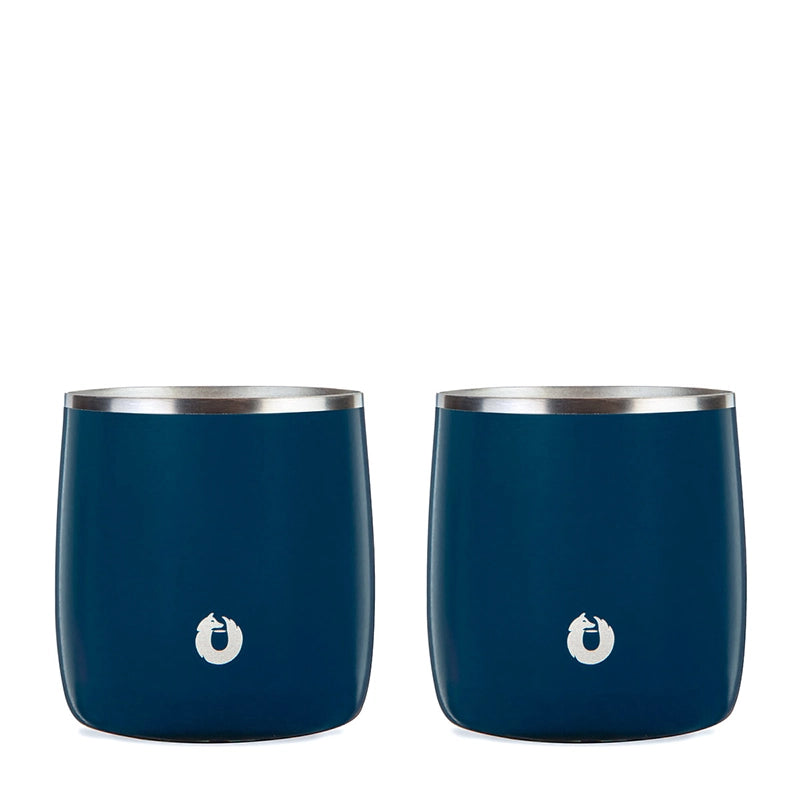
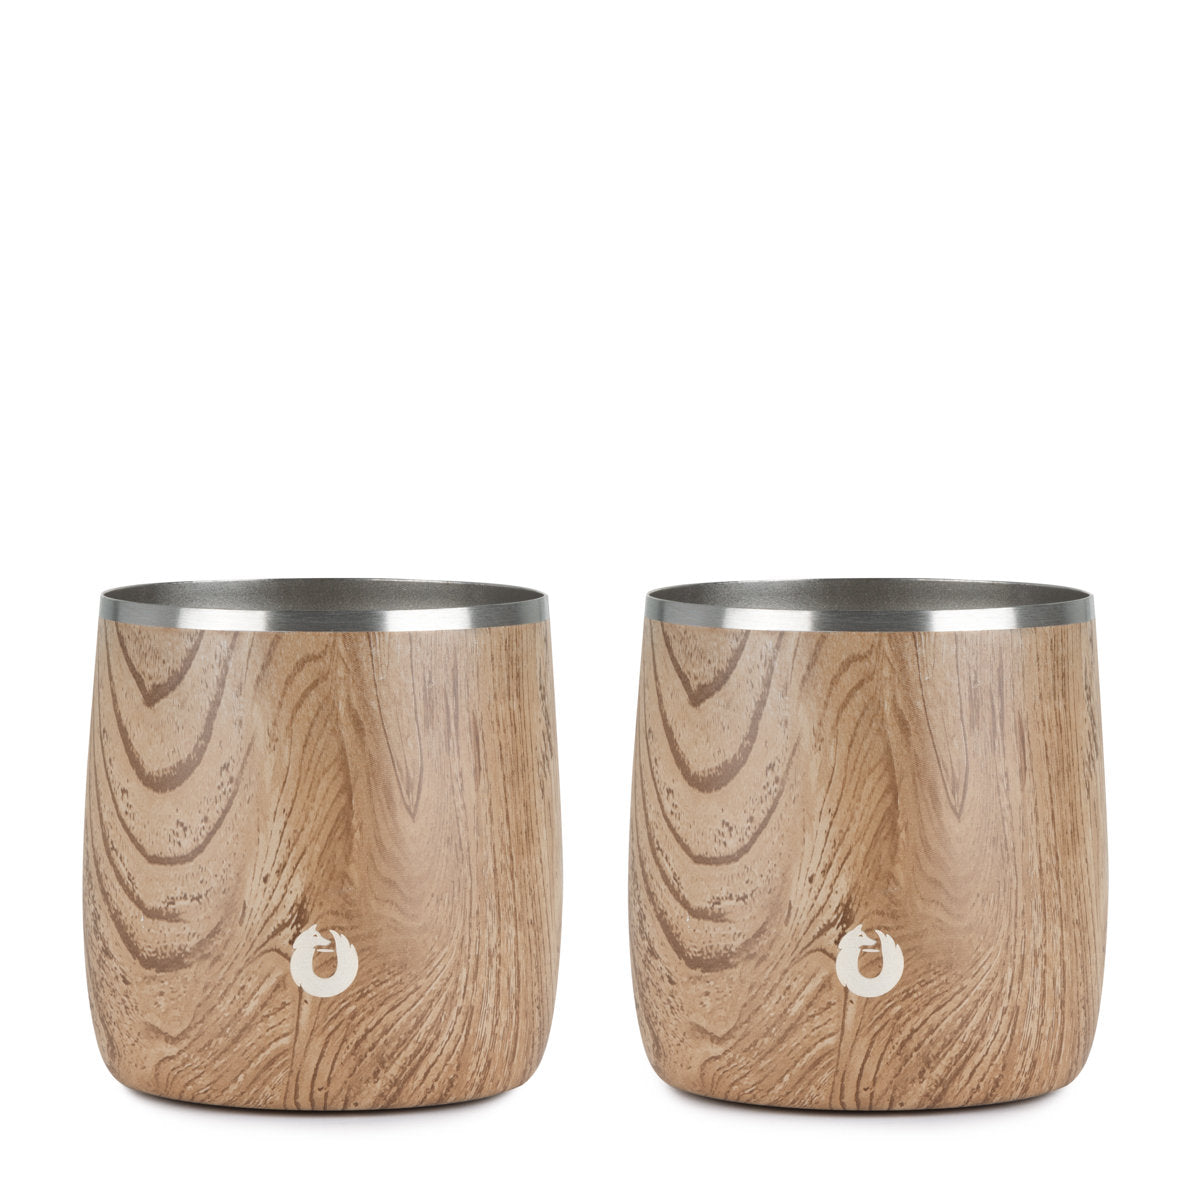
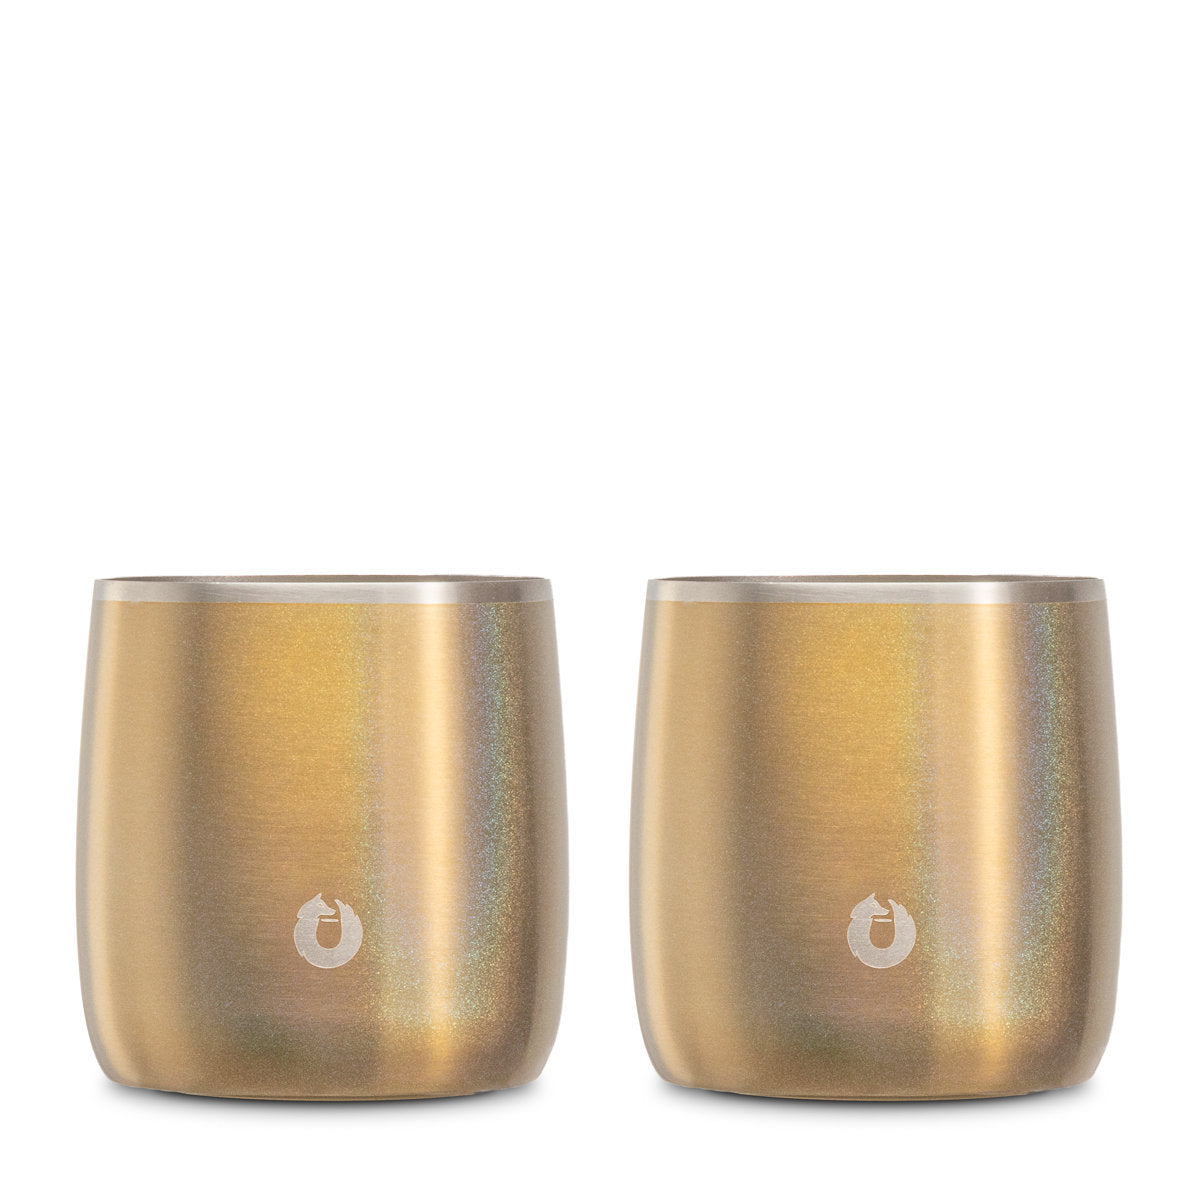
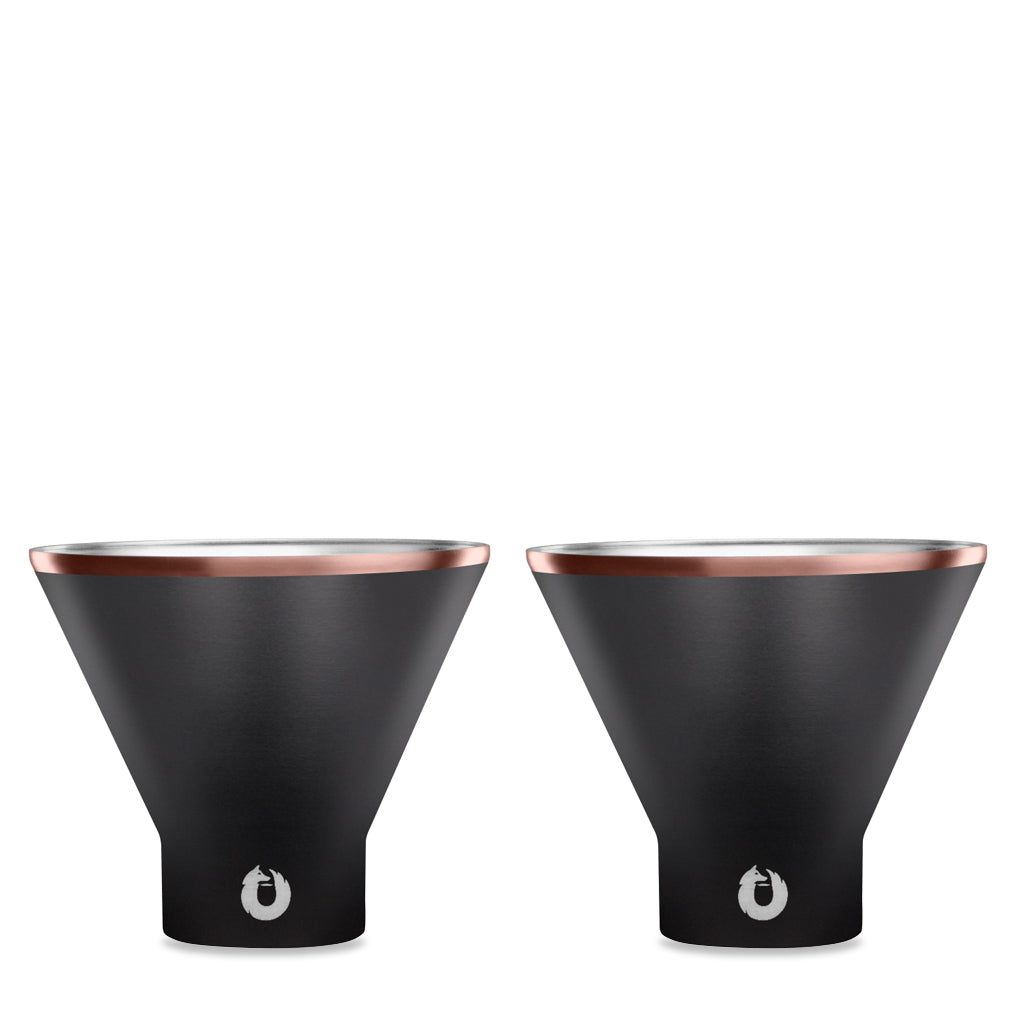
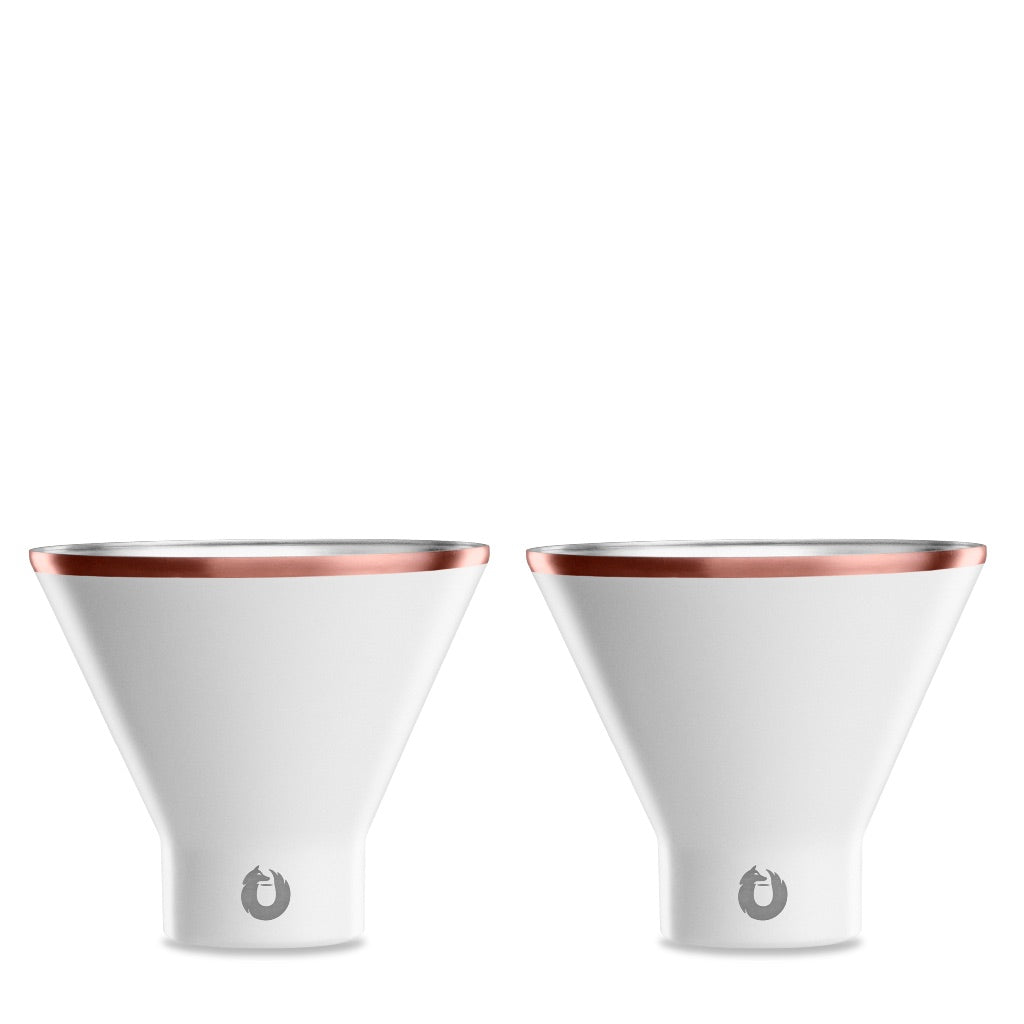
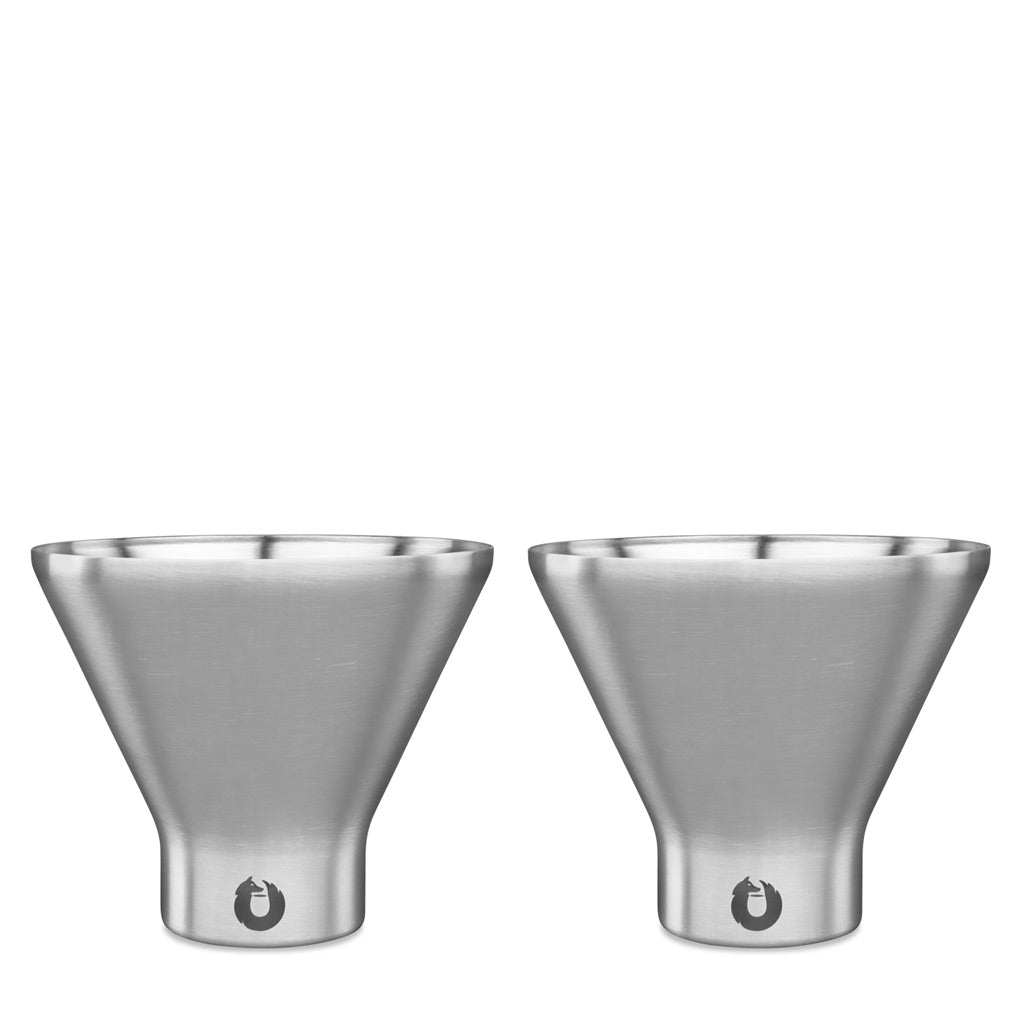
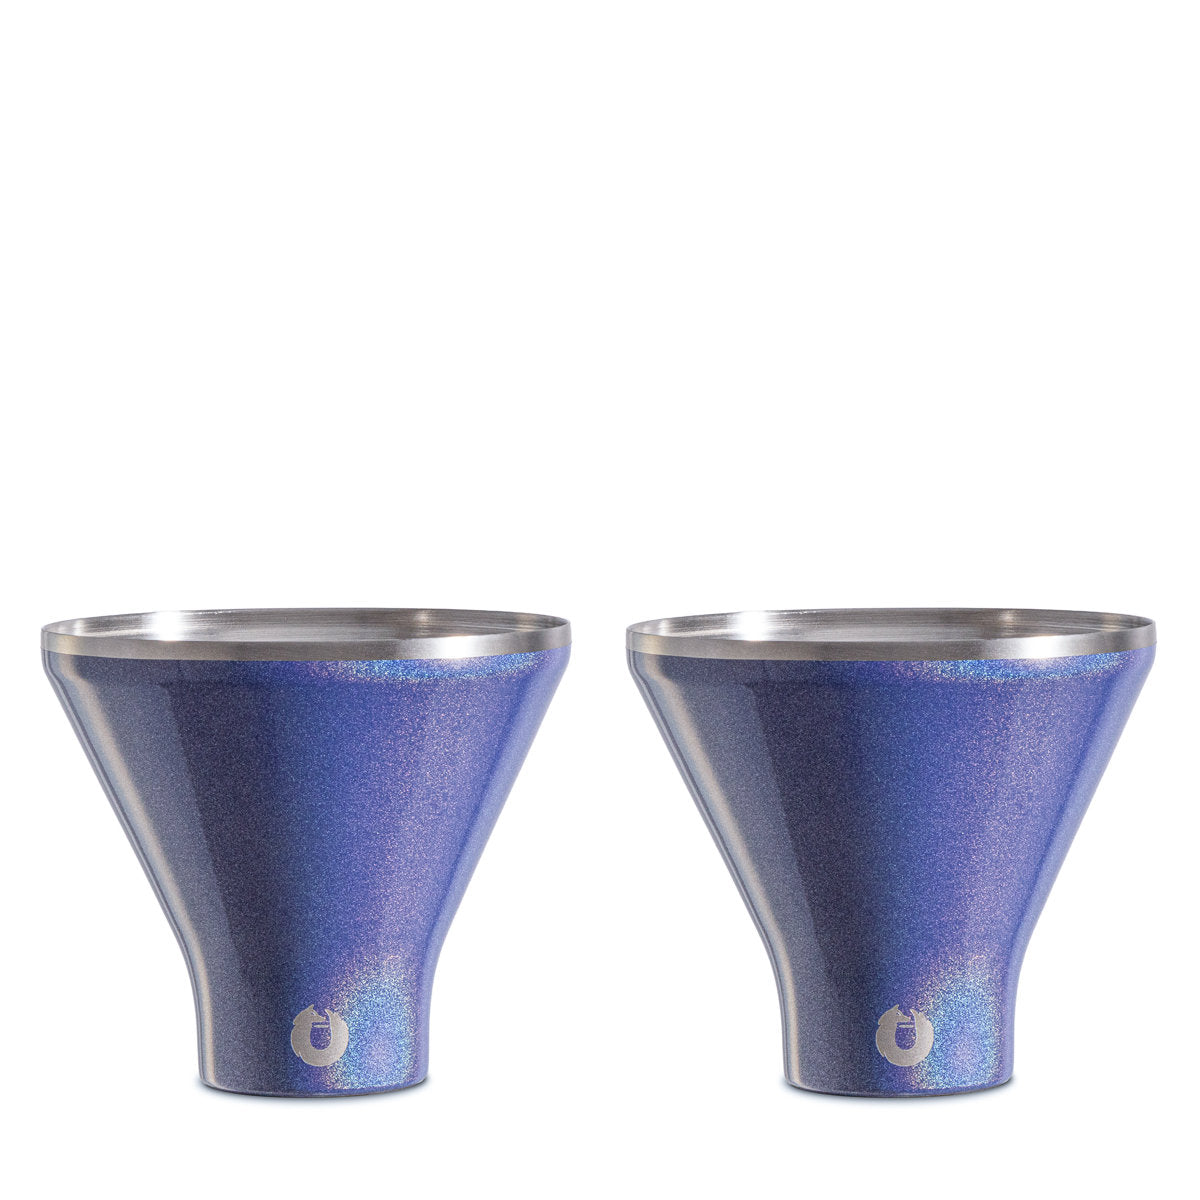
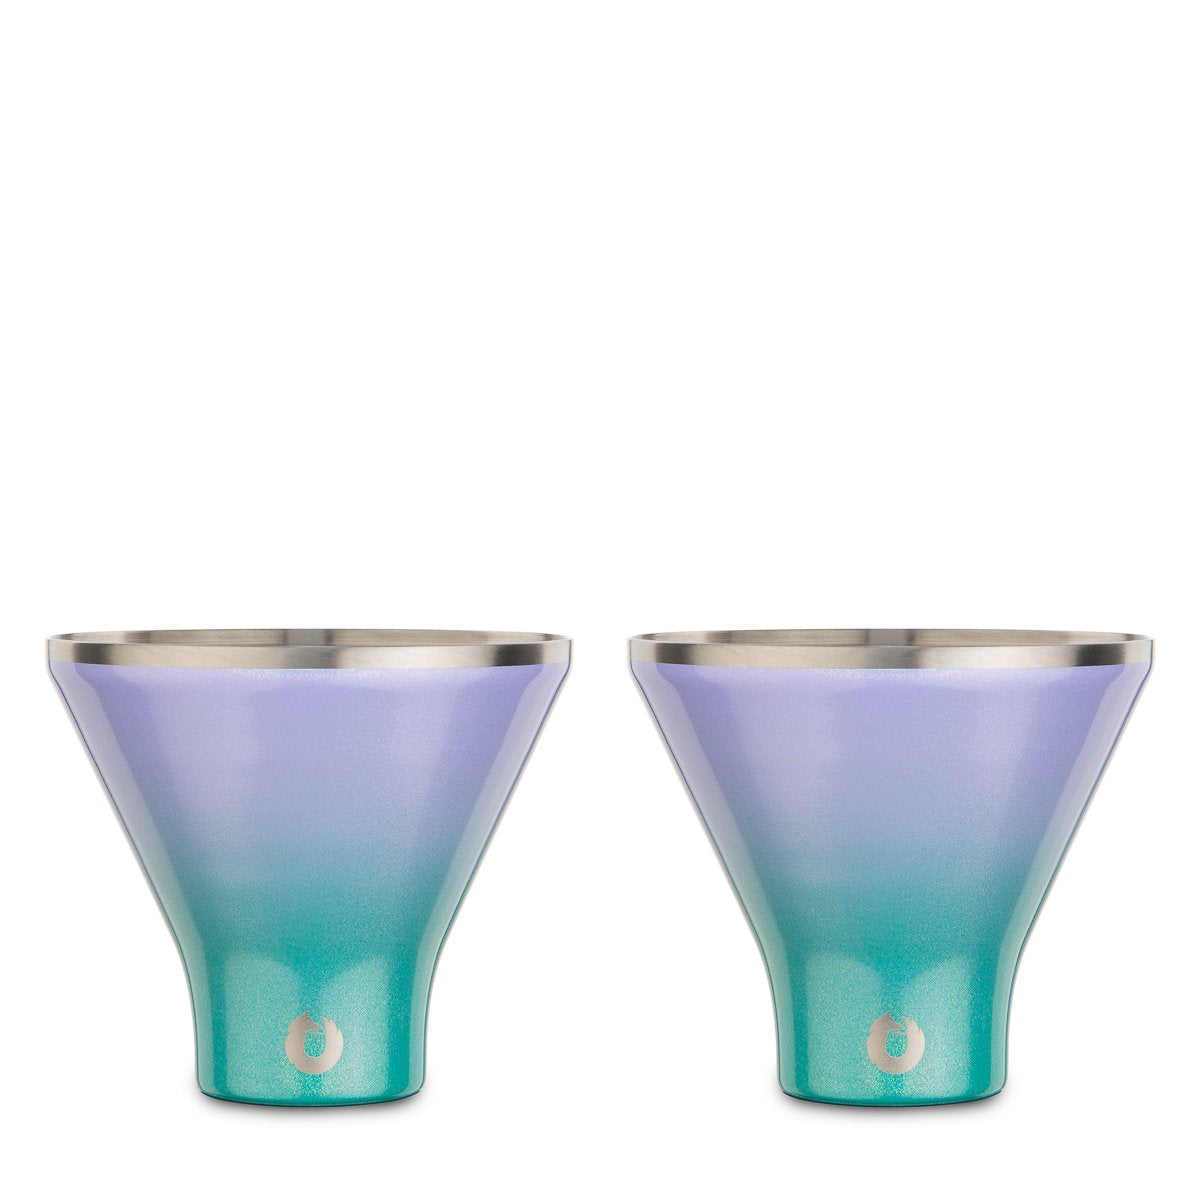
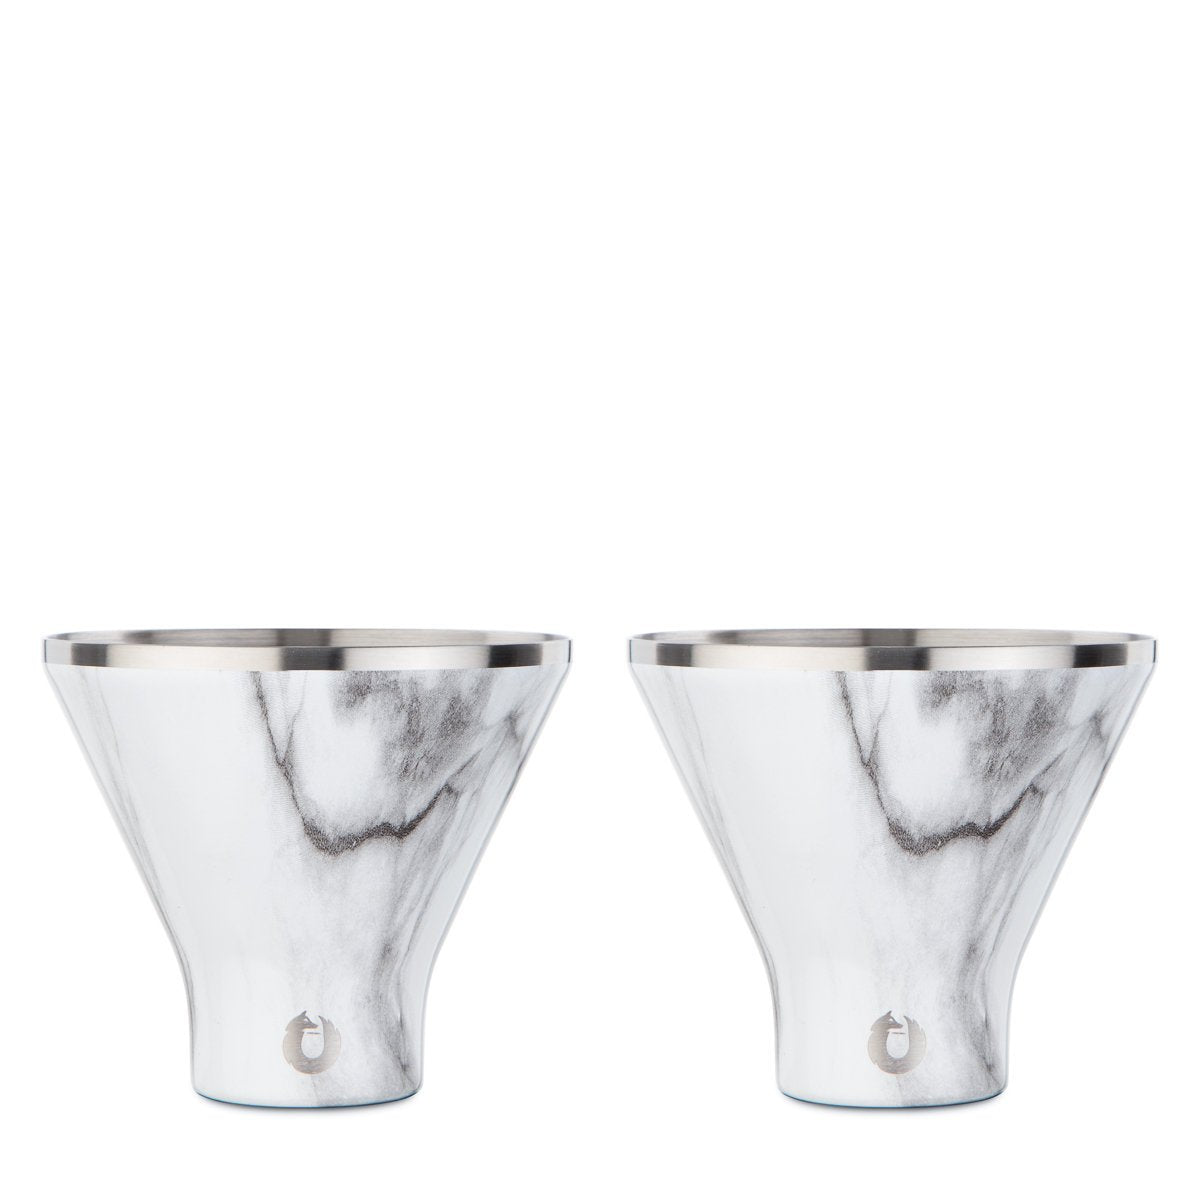
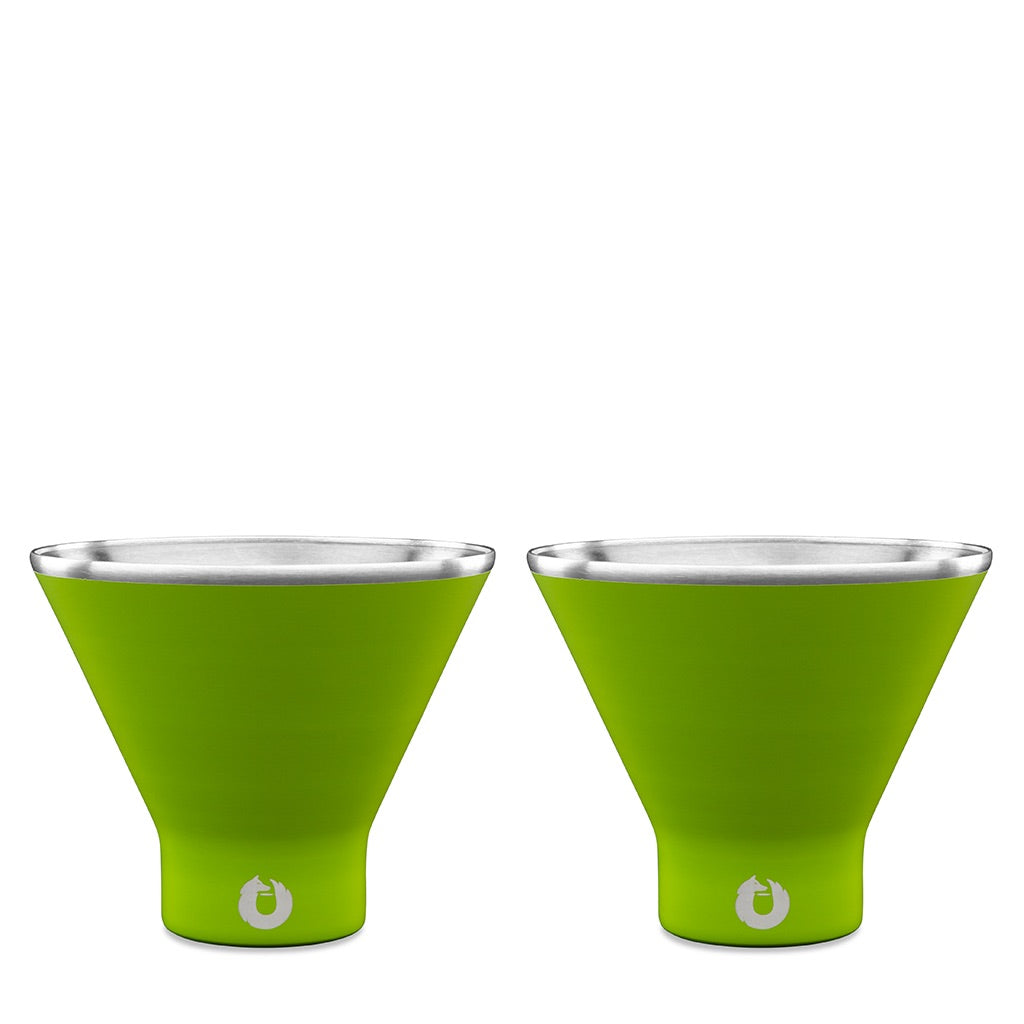
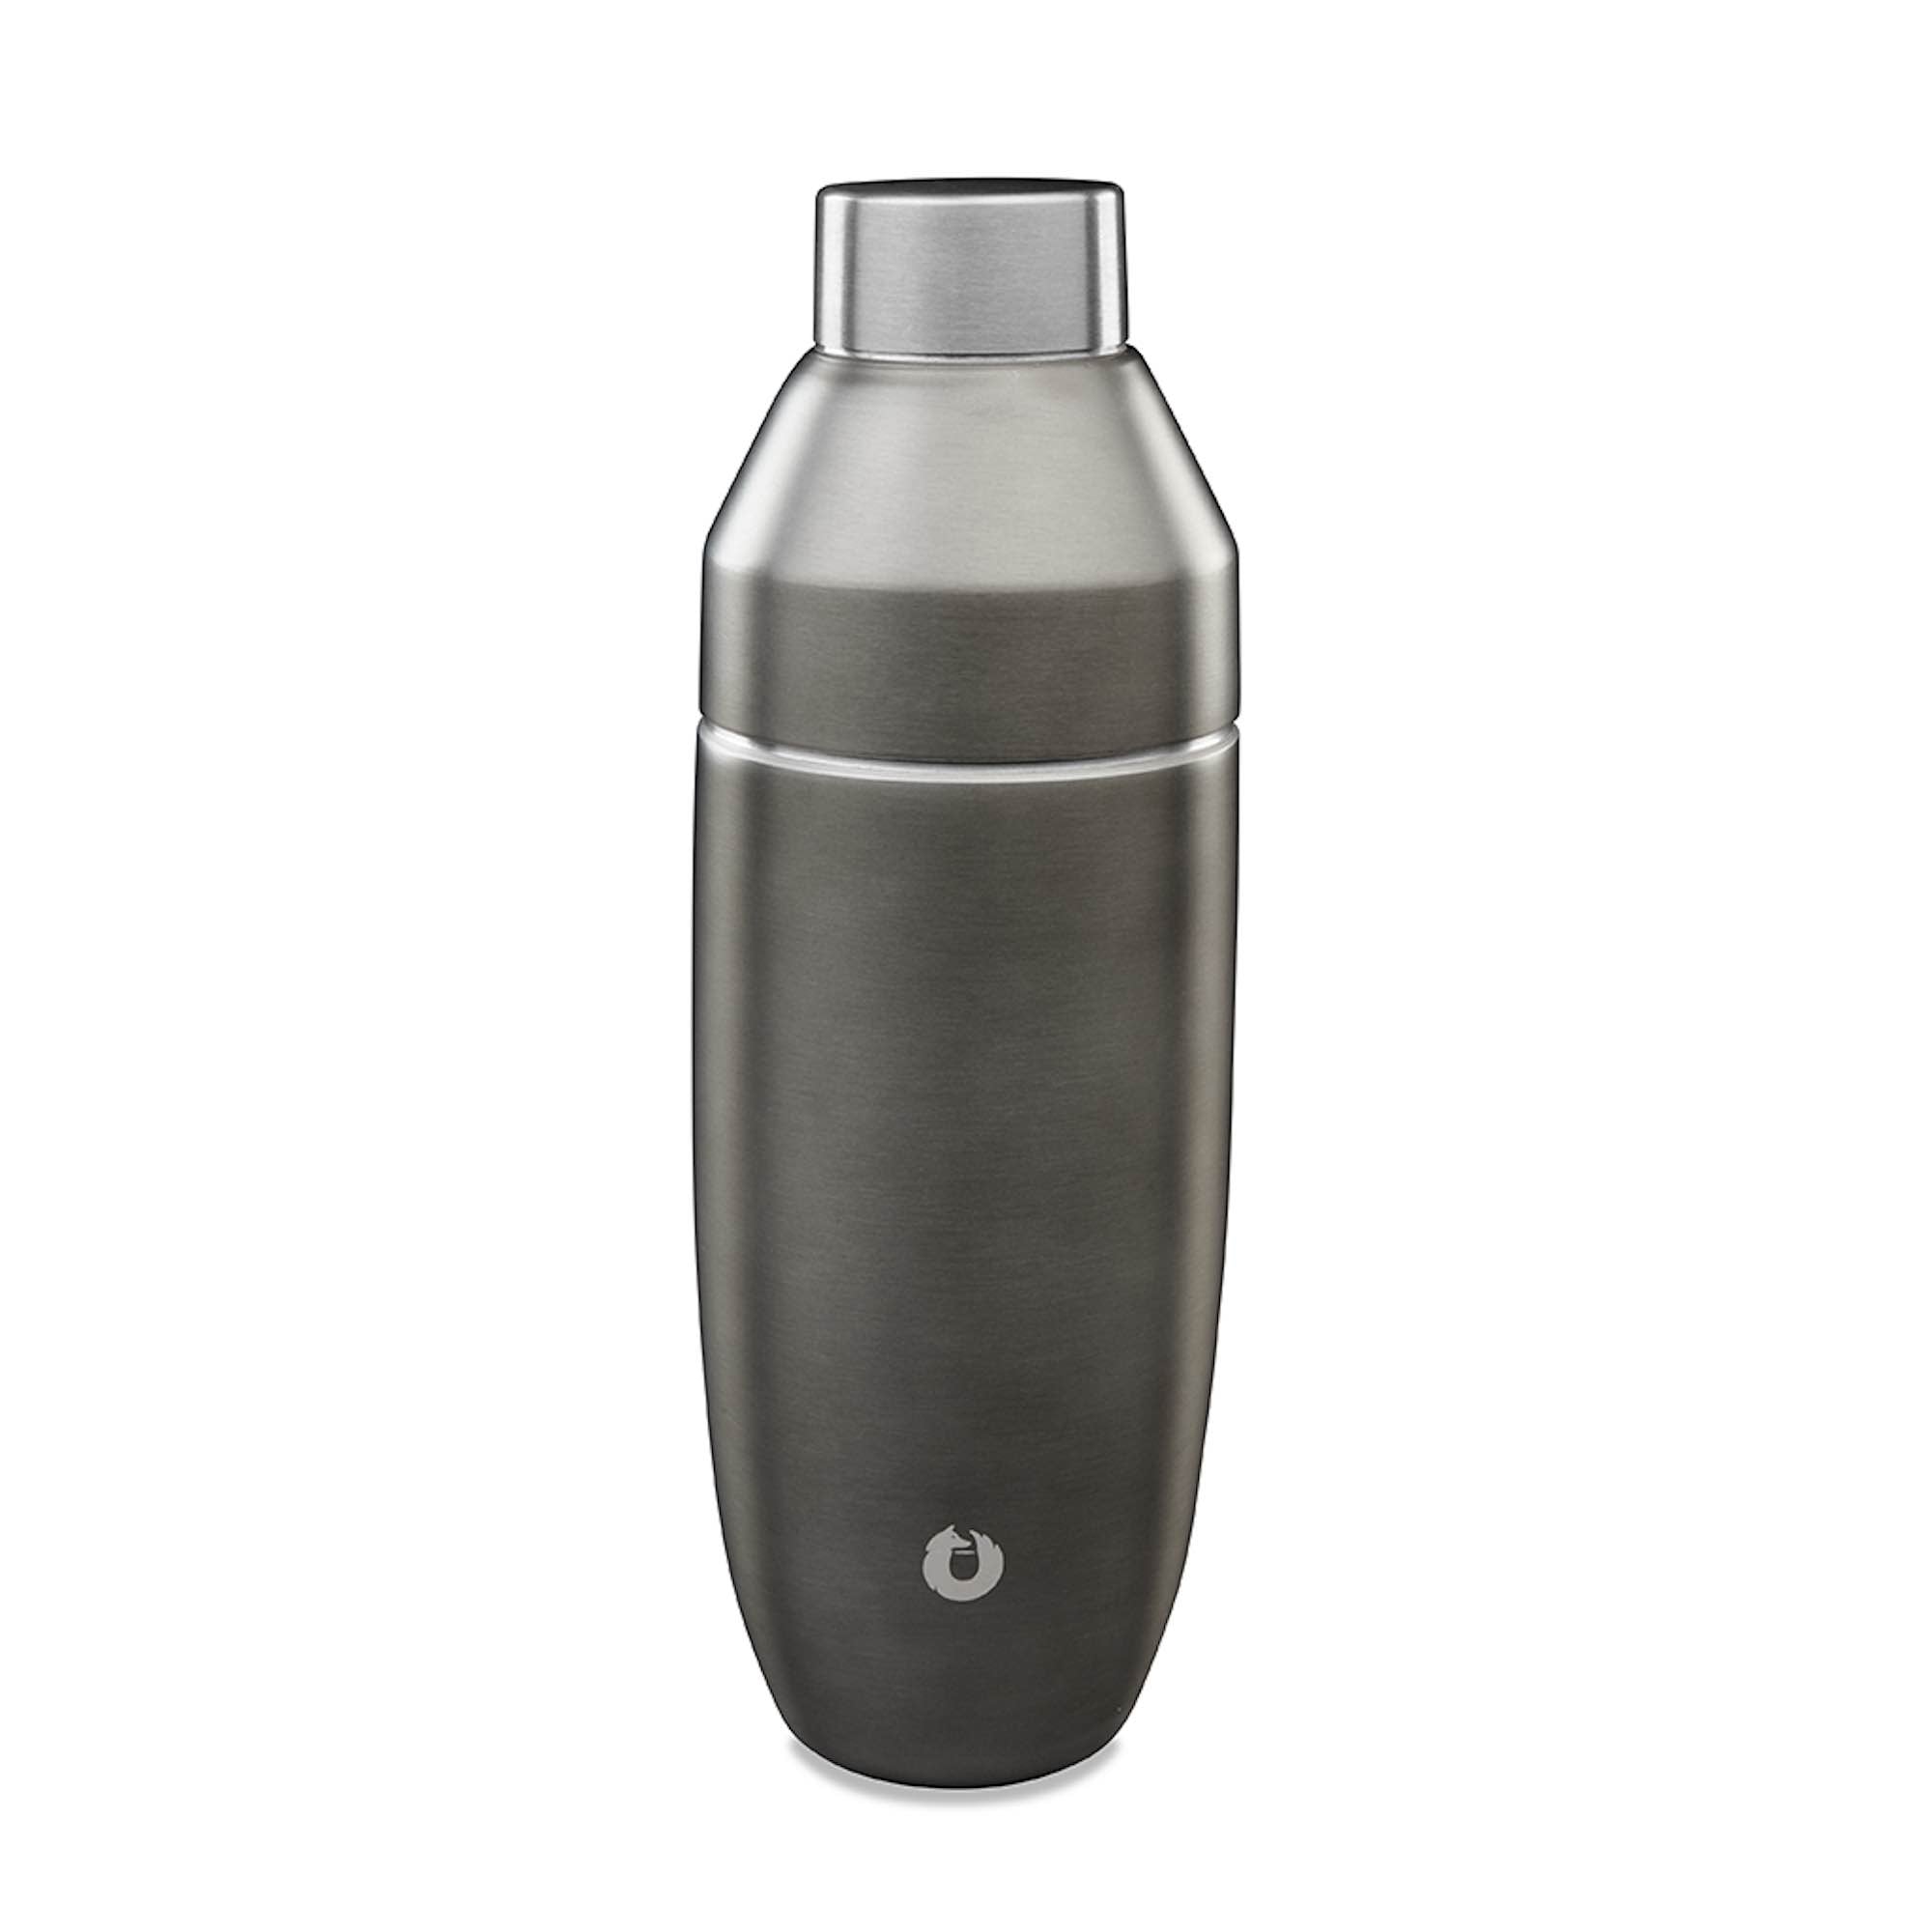
Shake It Up With Snowfox Barware
Traditional metal shakers chill fast, but they also freeze your fingers just as quickly. With an insulated Snowfox shaker, you can shake longer and more precisely, without the frosty grip that usually makes people stop early.
Learning to use a shaker isn’t complicated, and once you’ve tried it a couple of times, it starts to feel natural. You measure, add ice, give it a good shake, and suddenly you have a drink that feels like something you’d order at a bar.
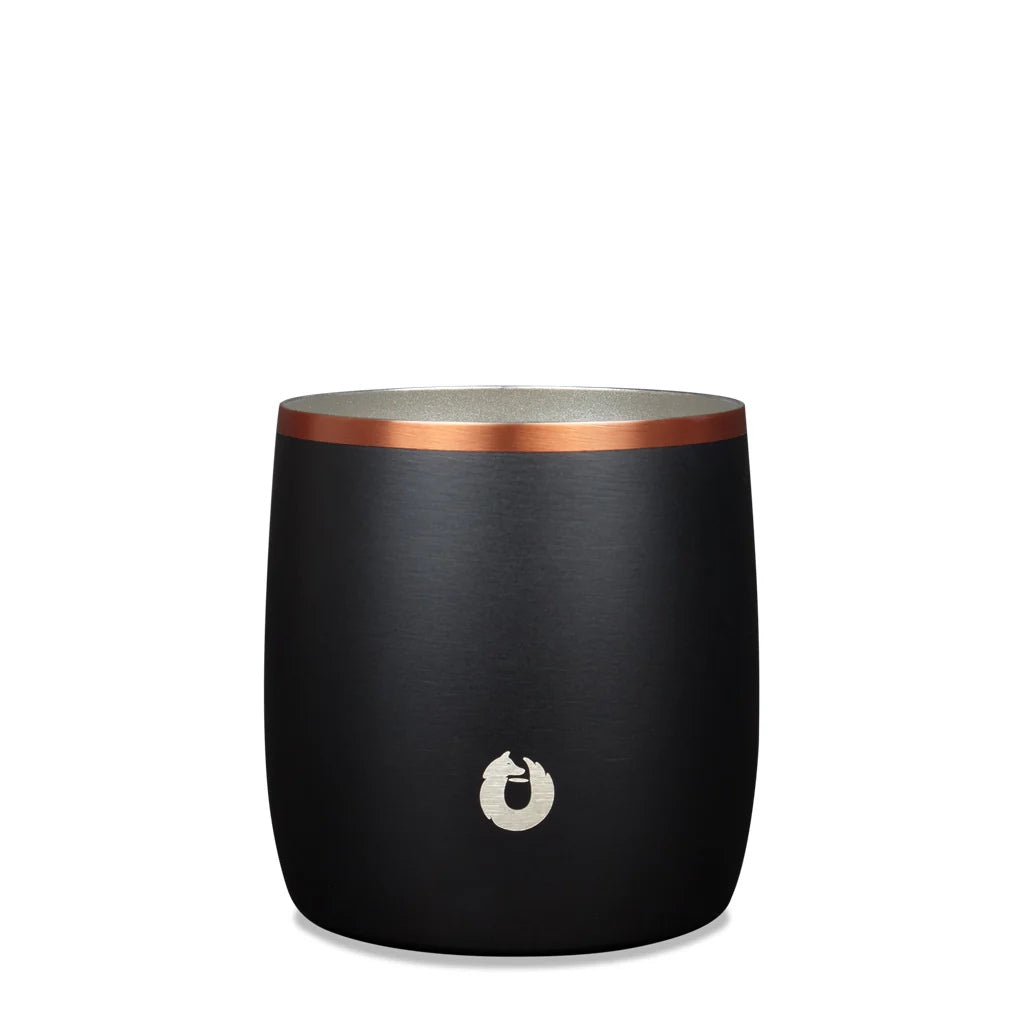
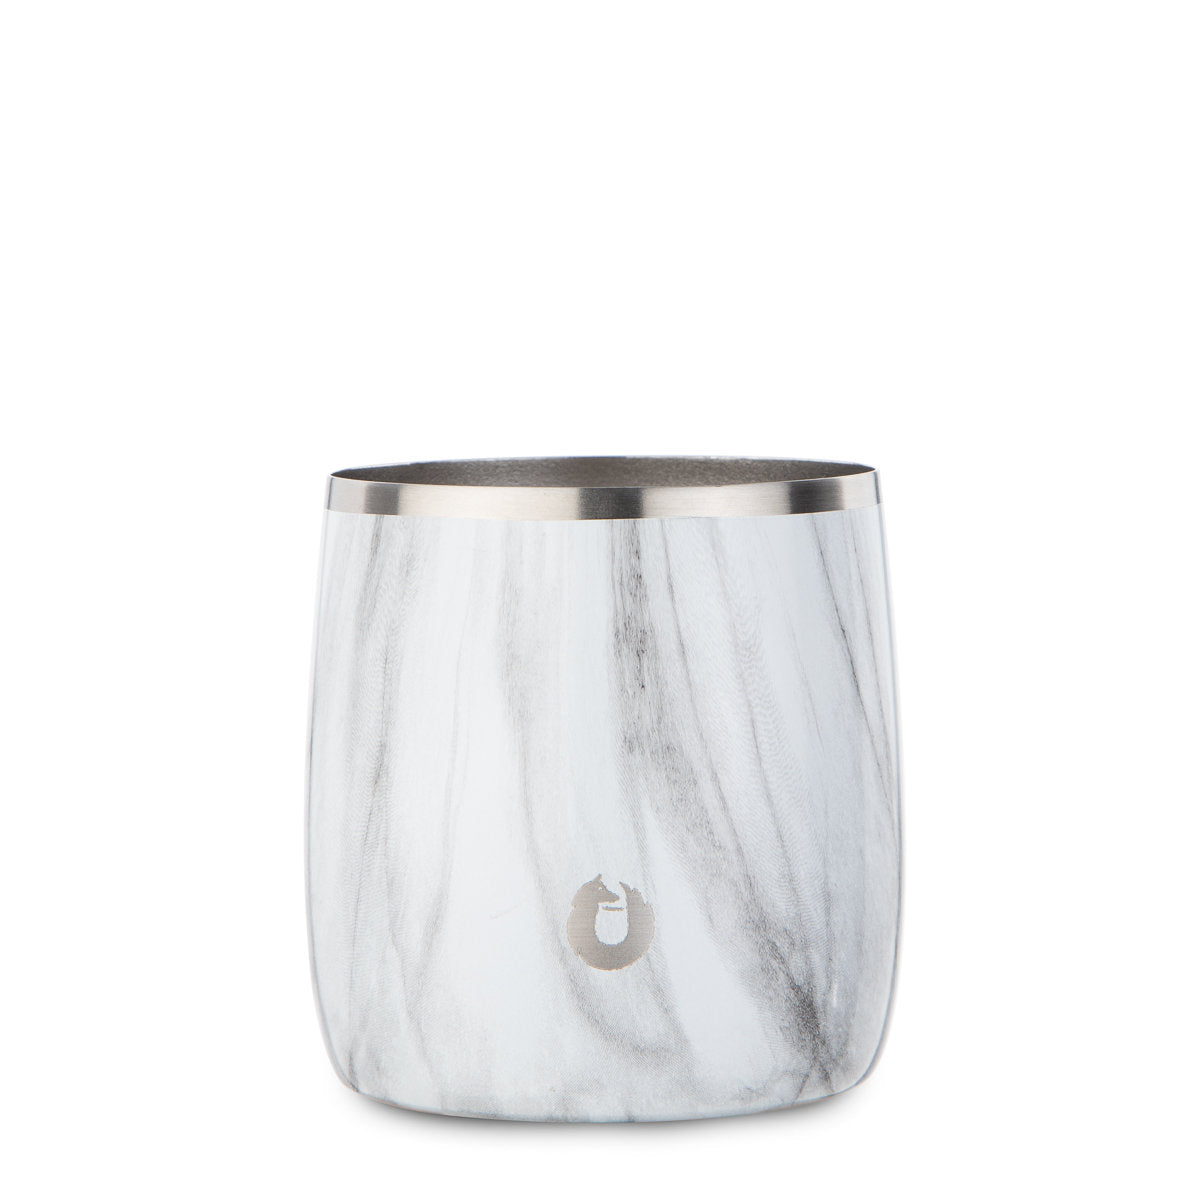
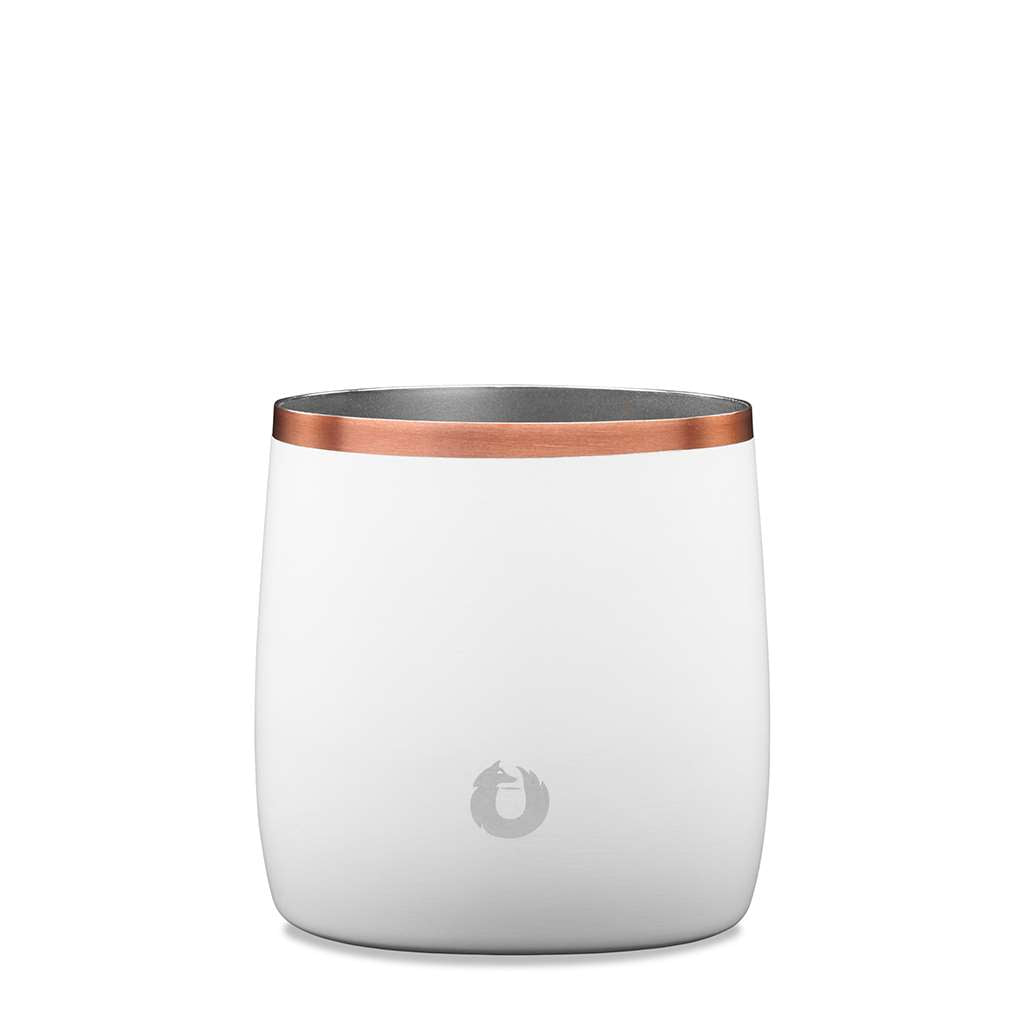
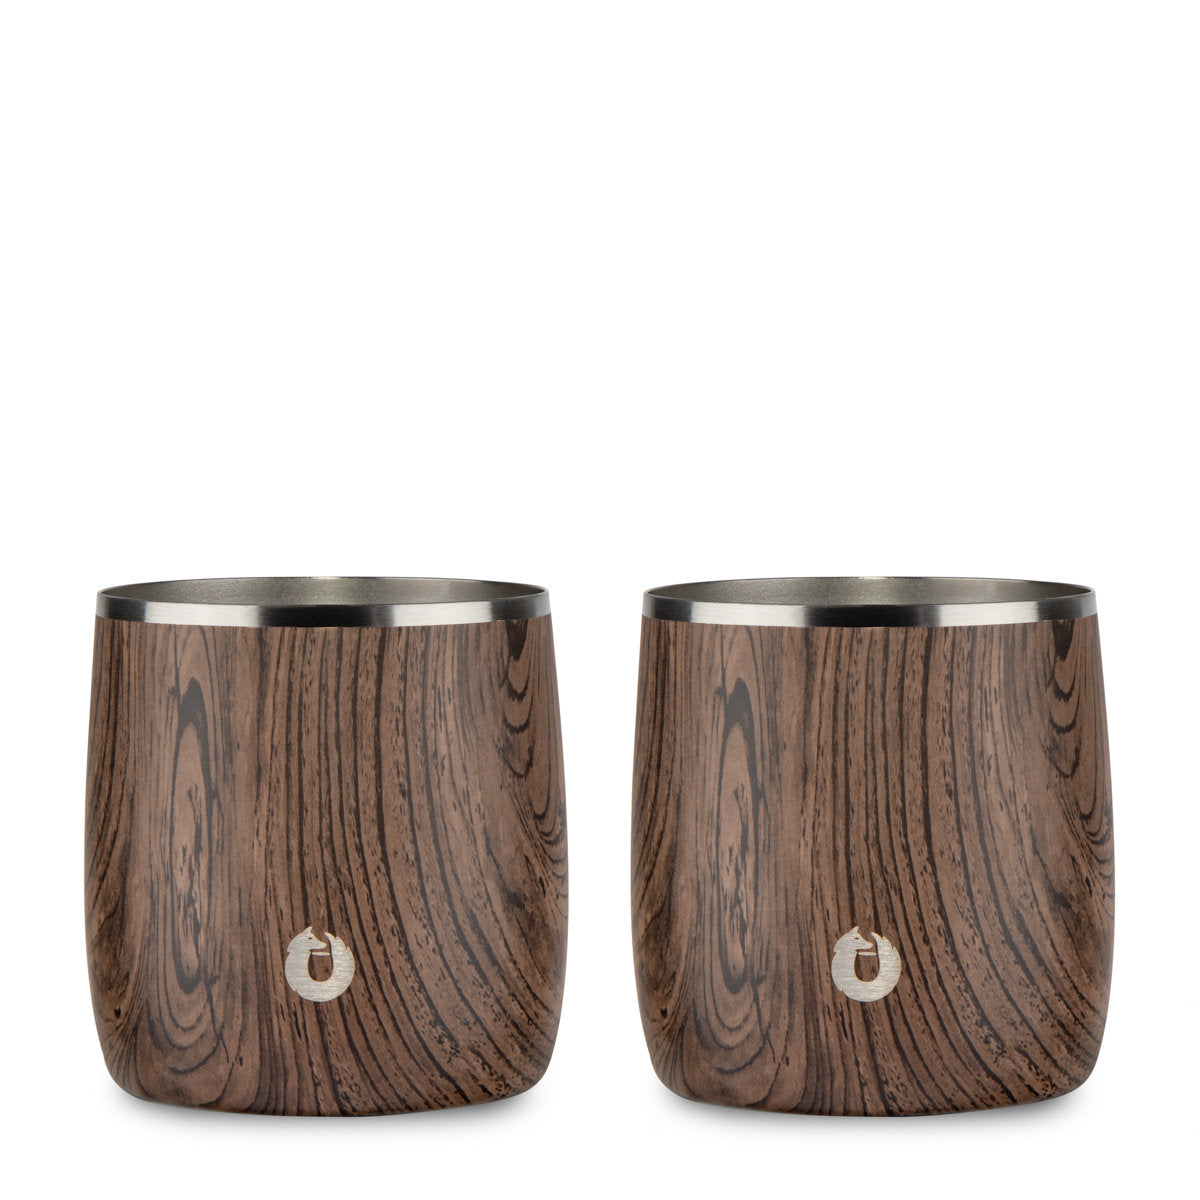
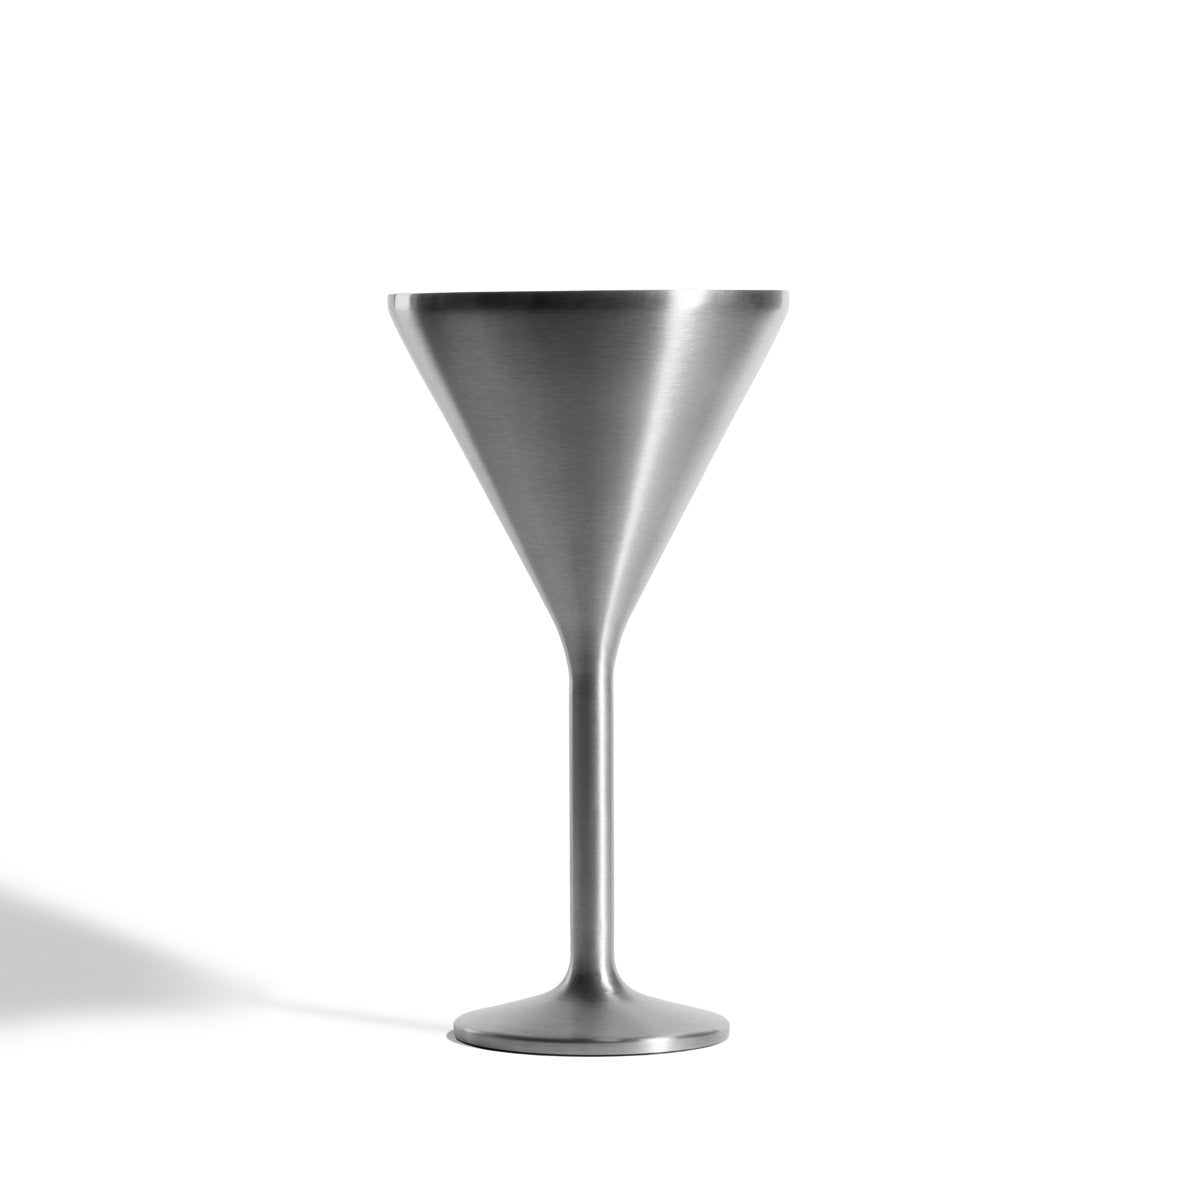
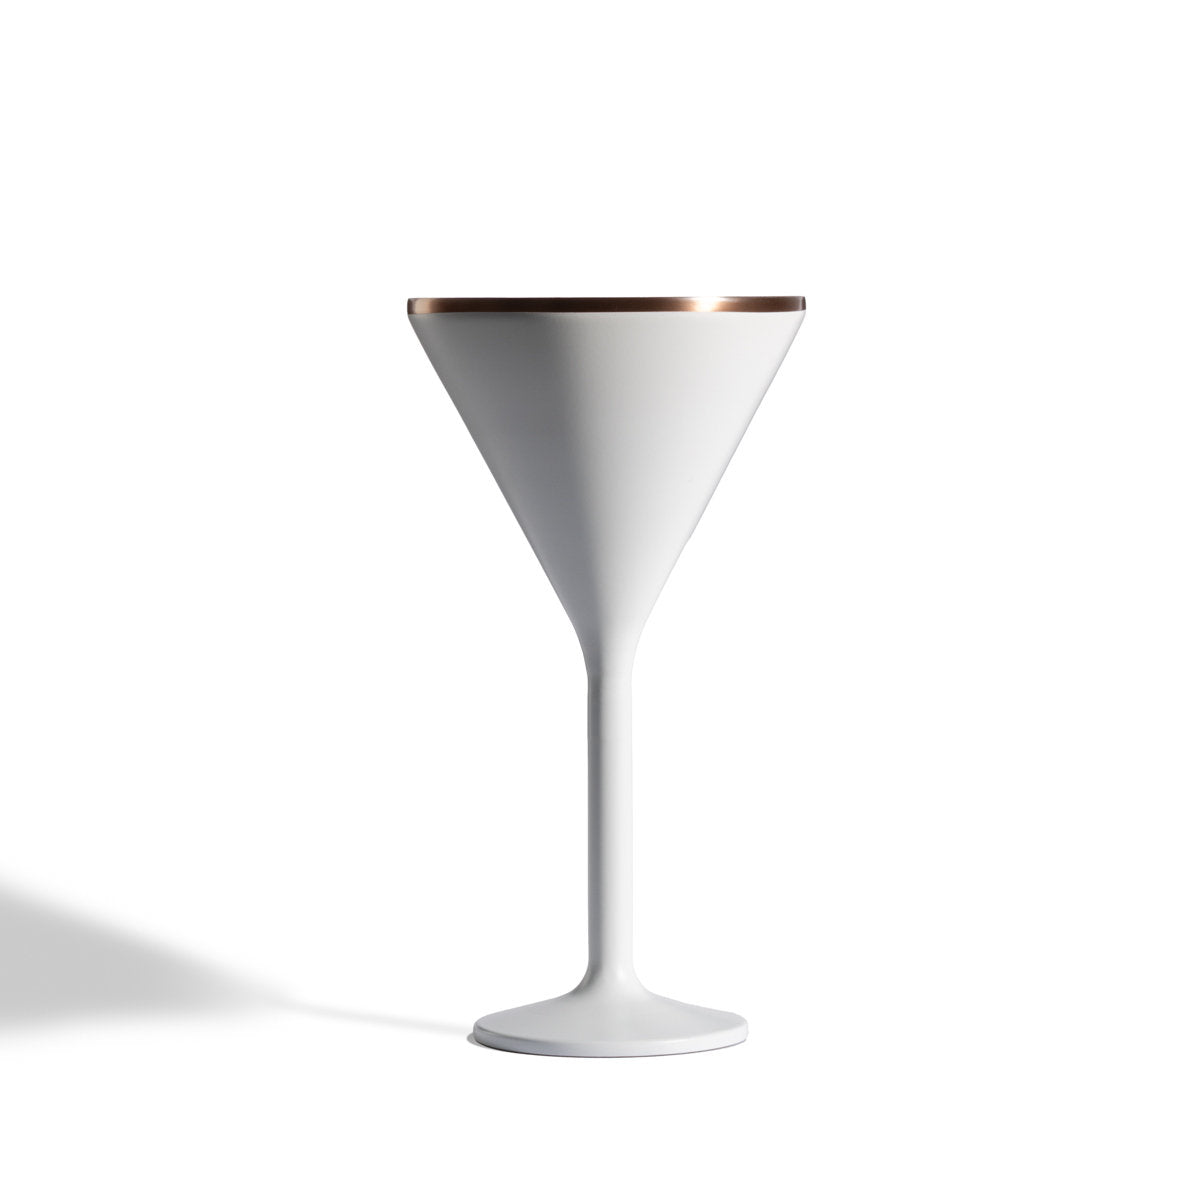
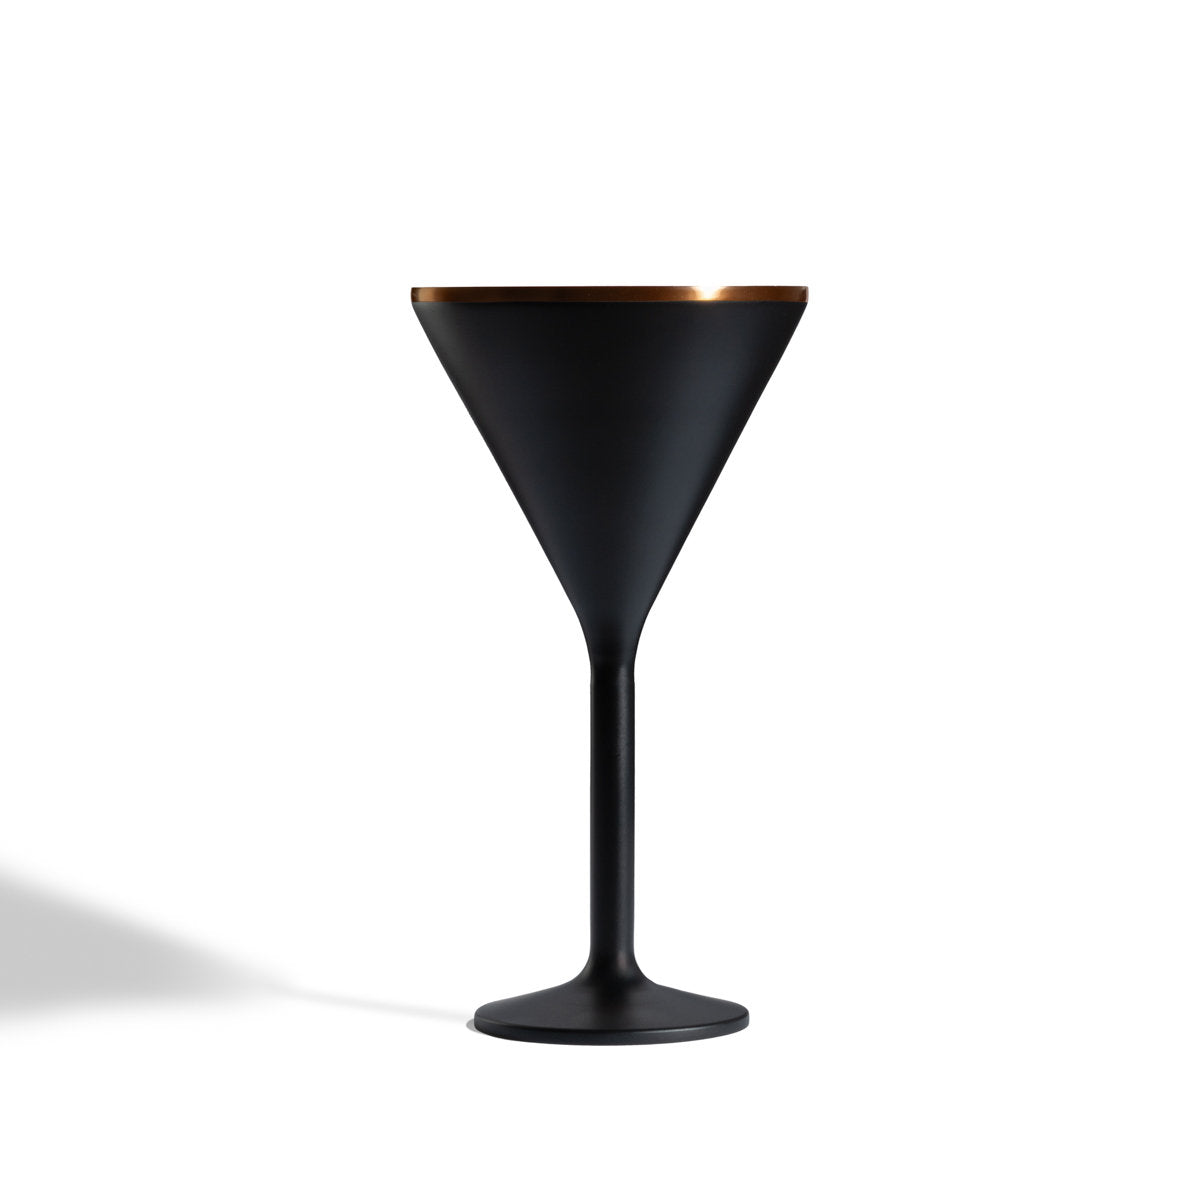
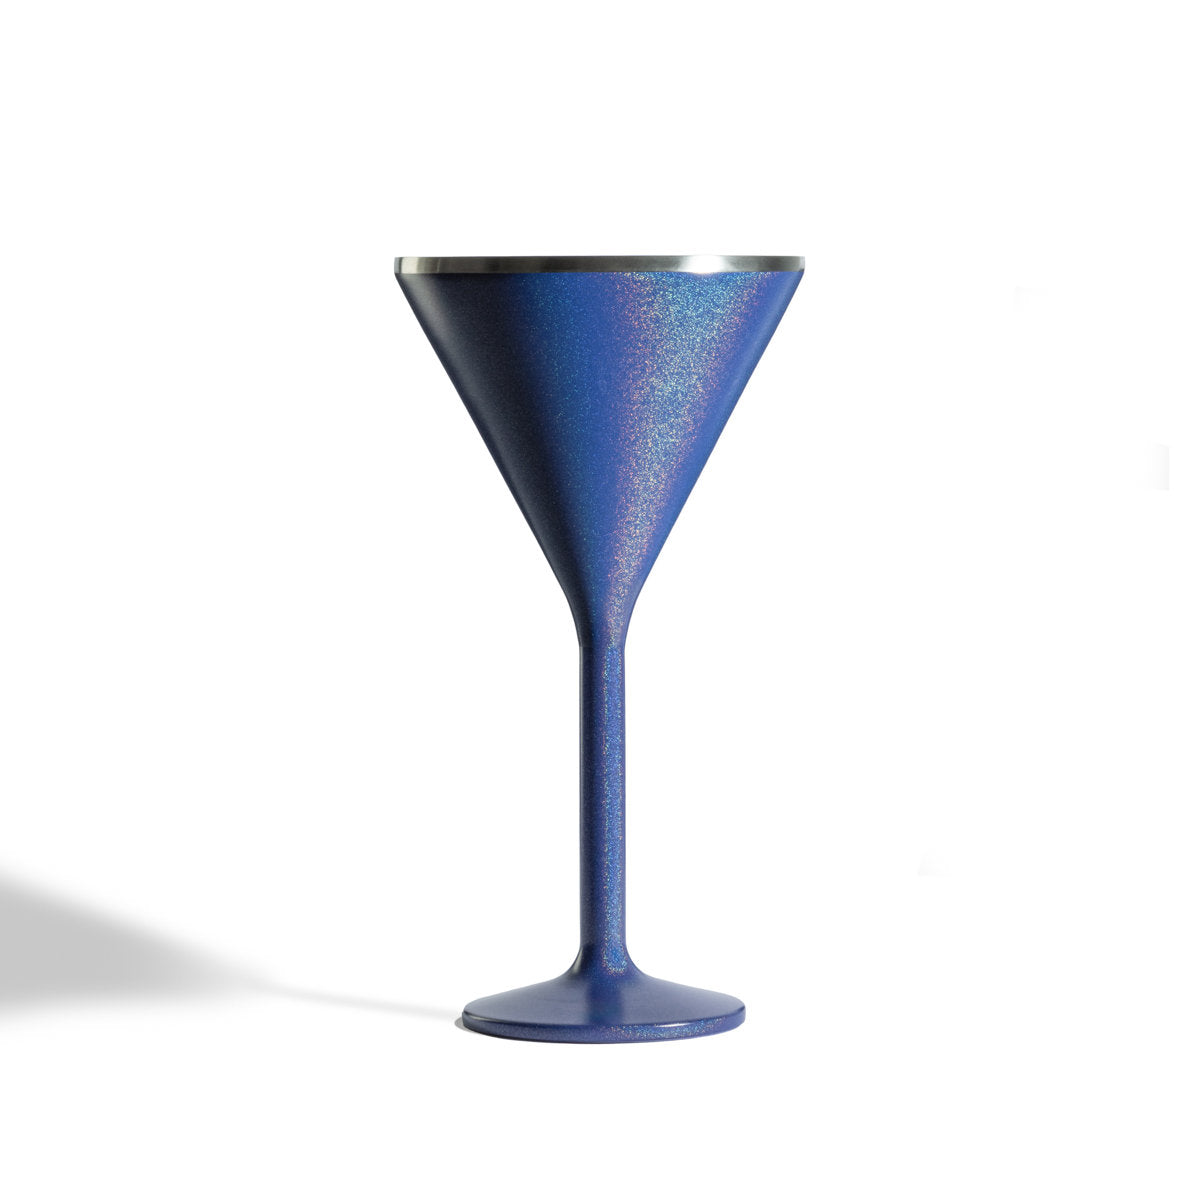
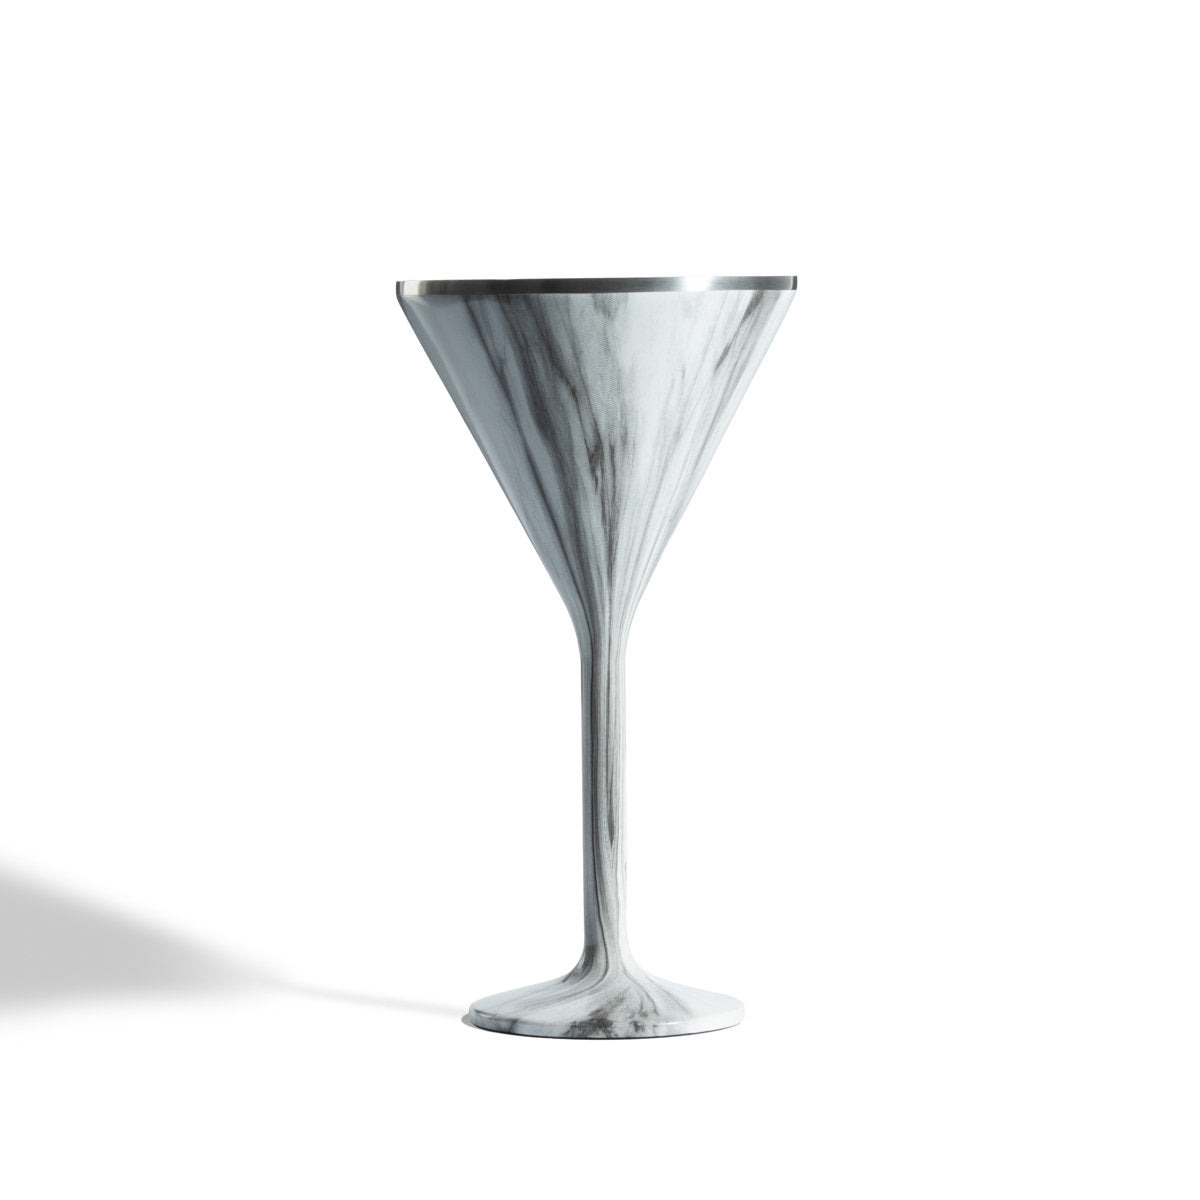
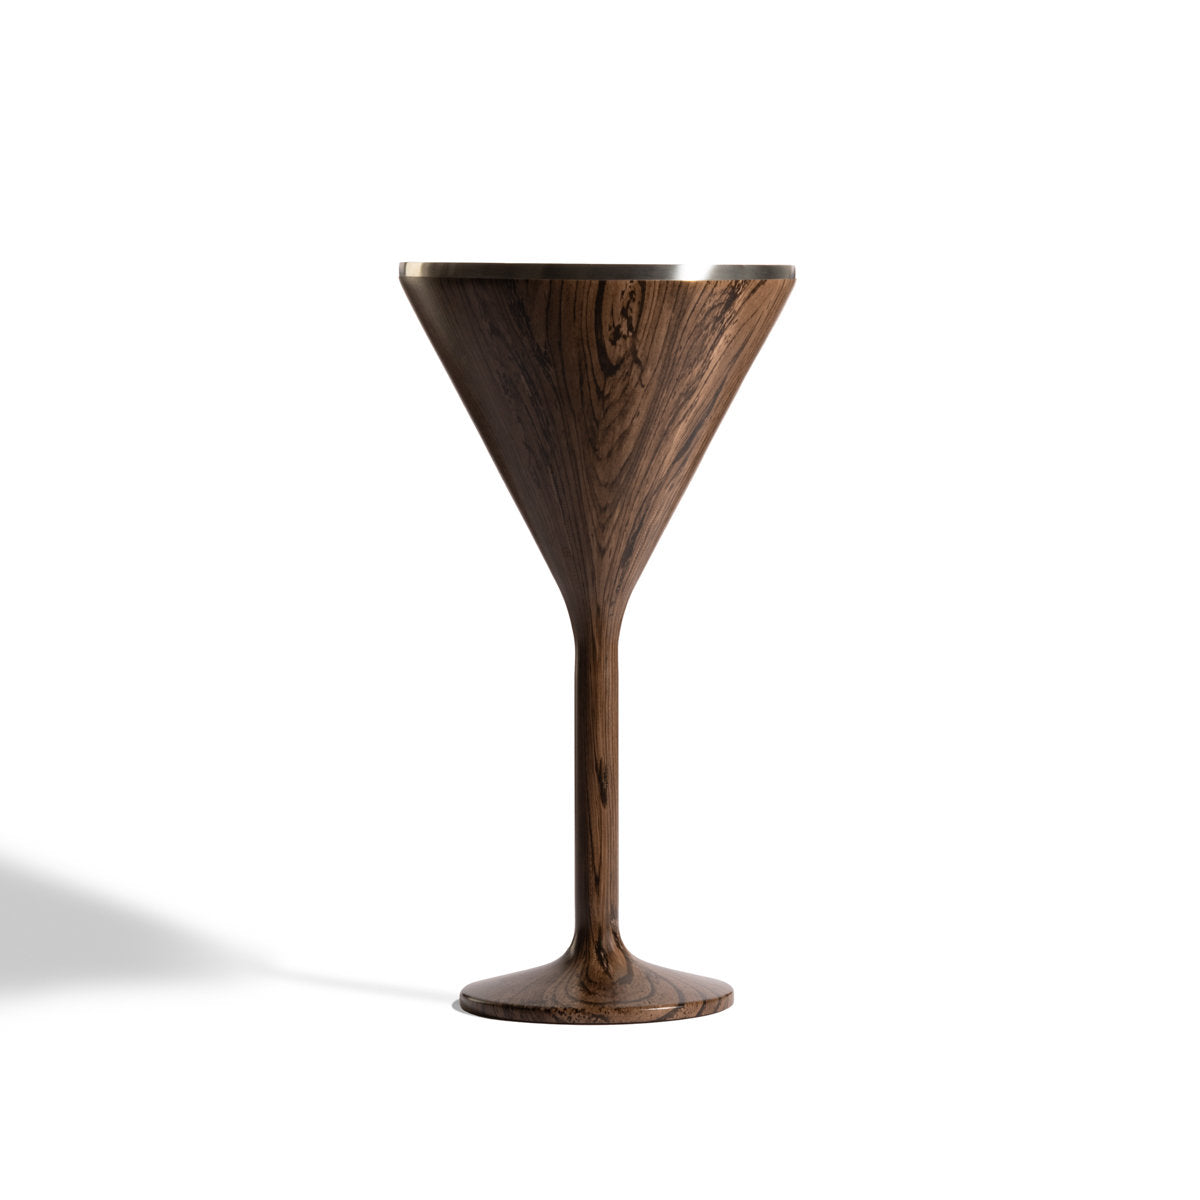
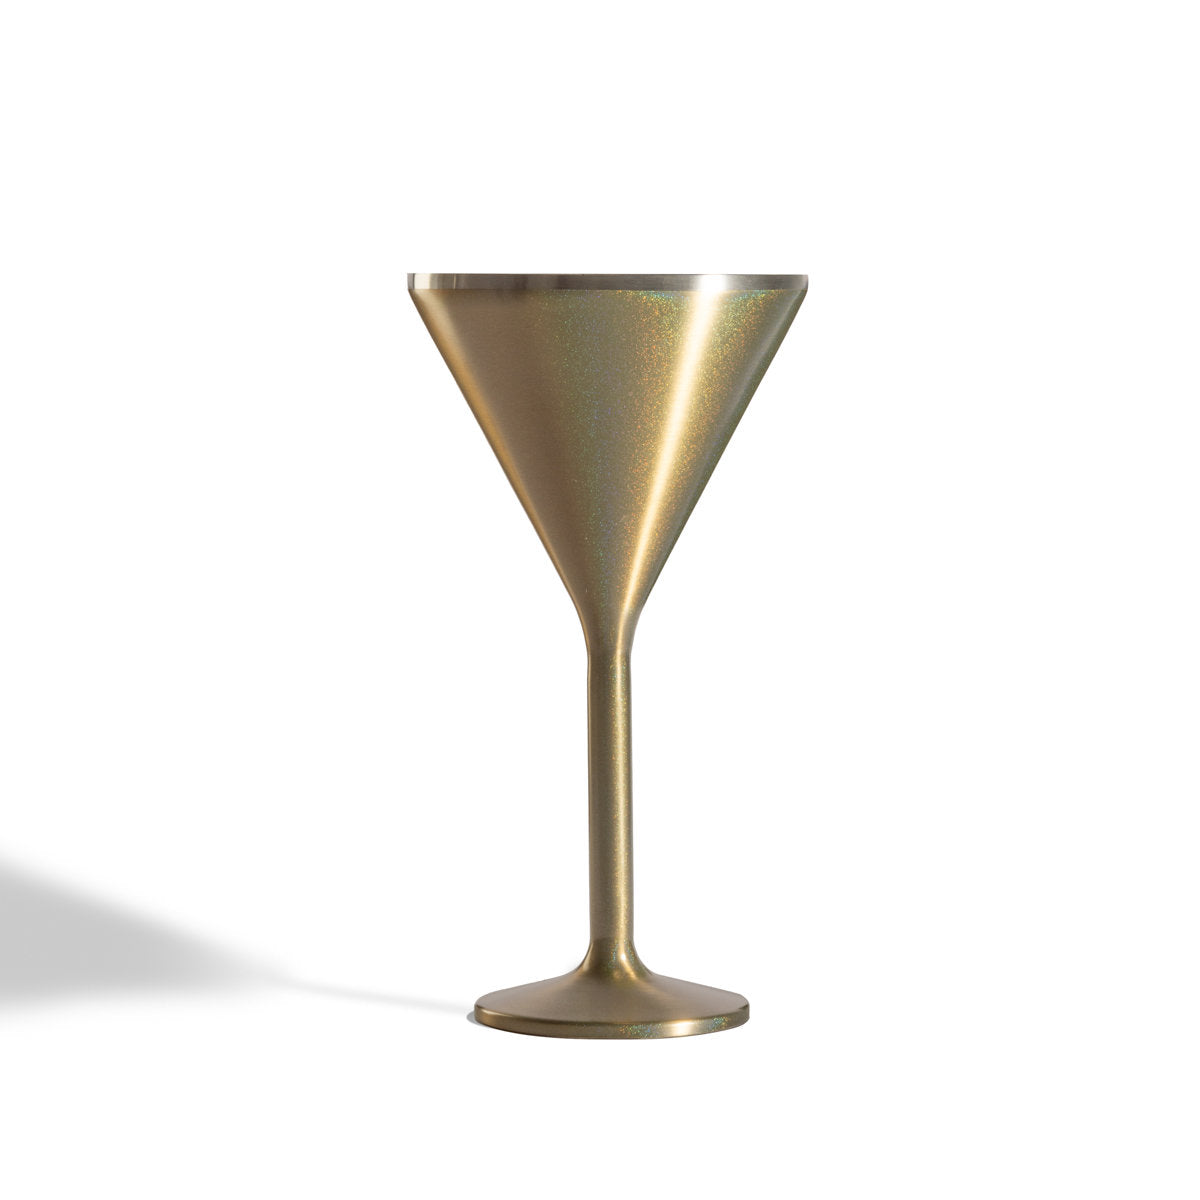
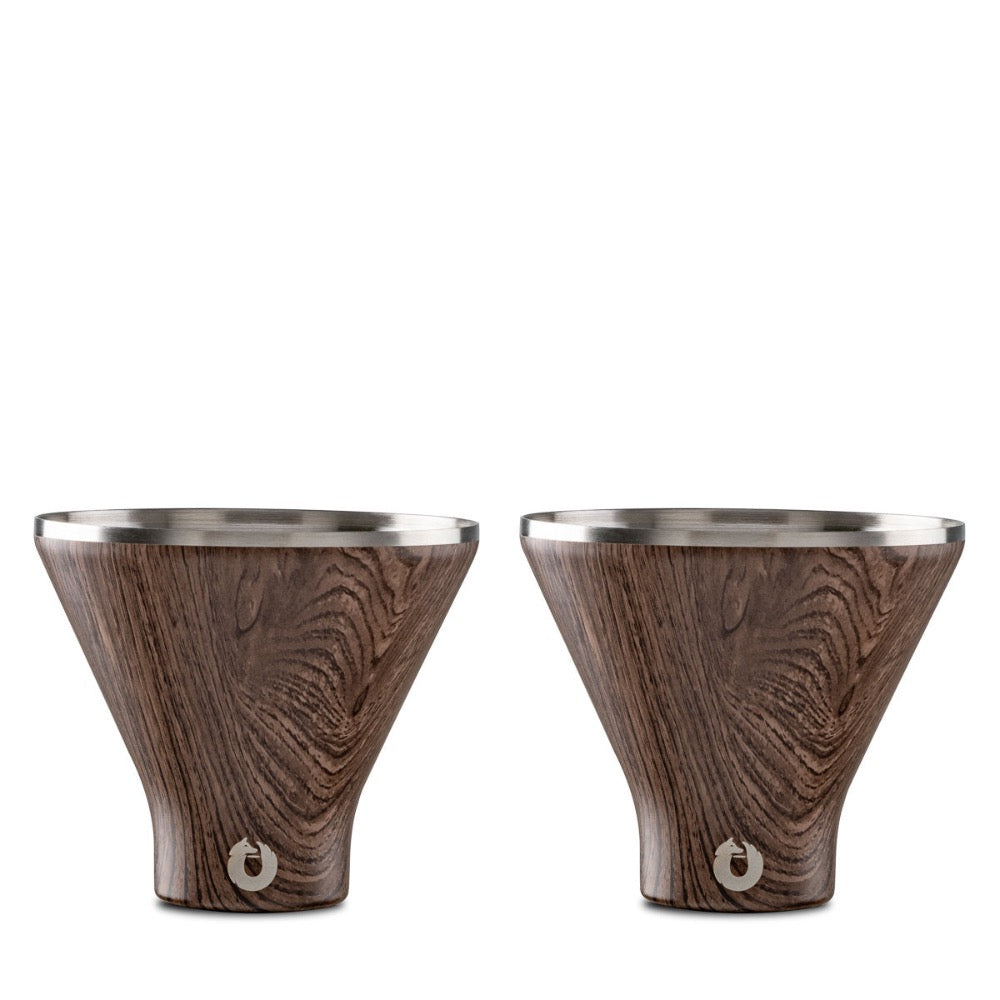
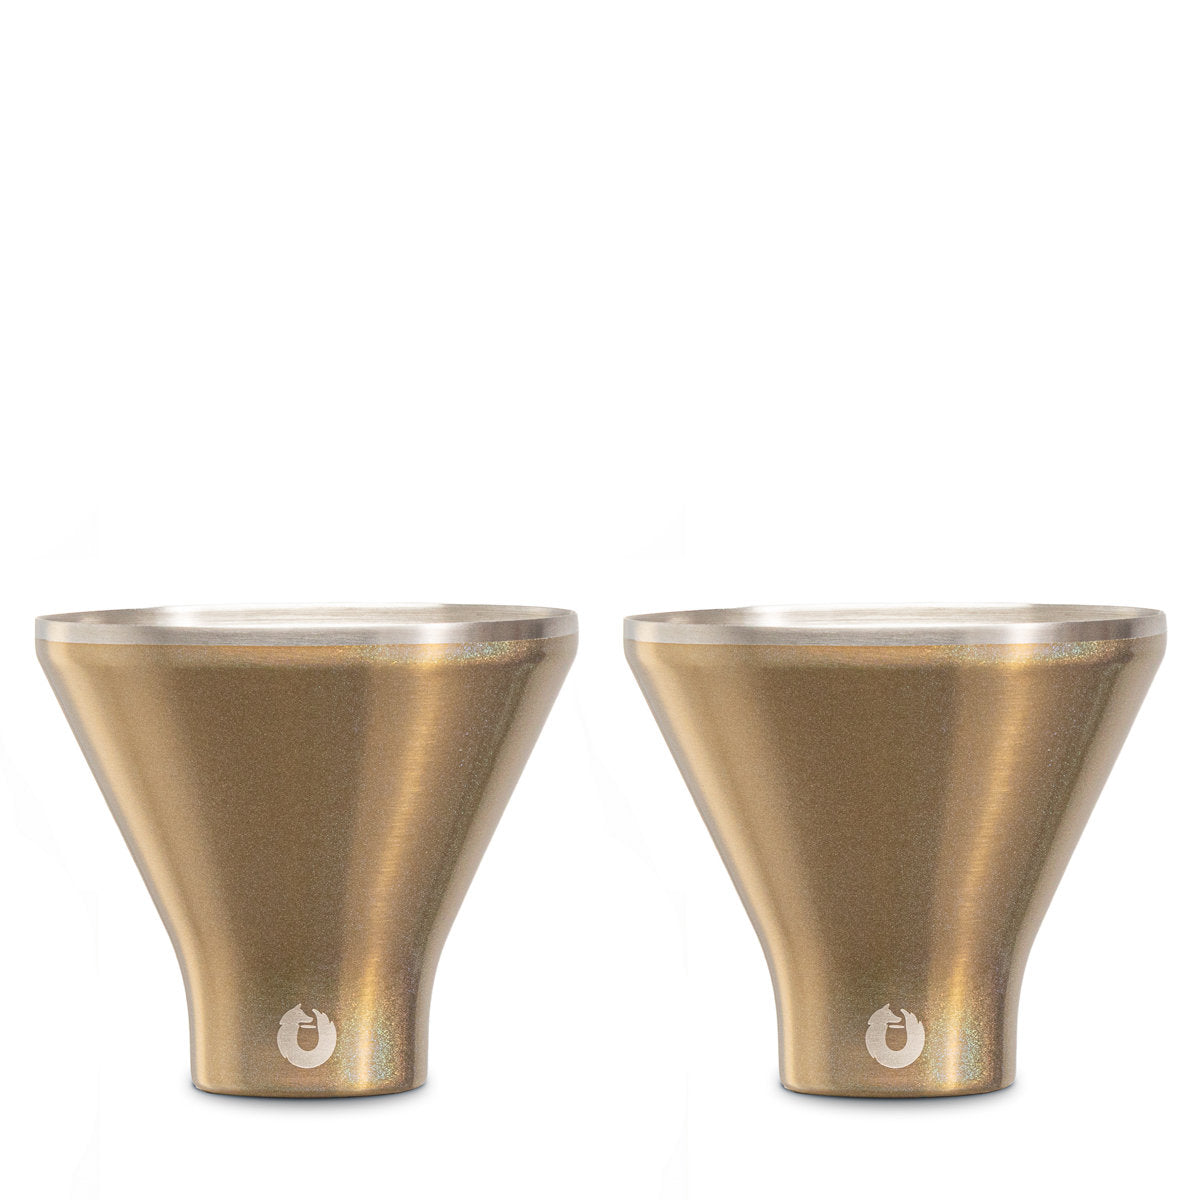
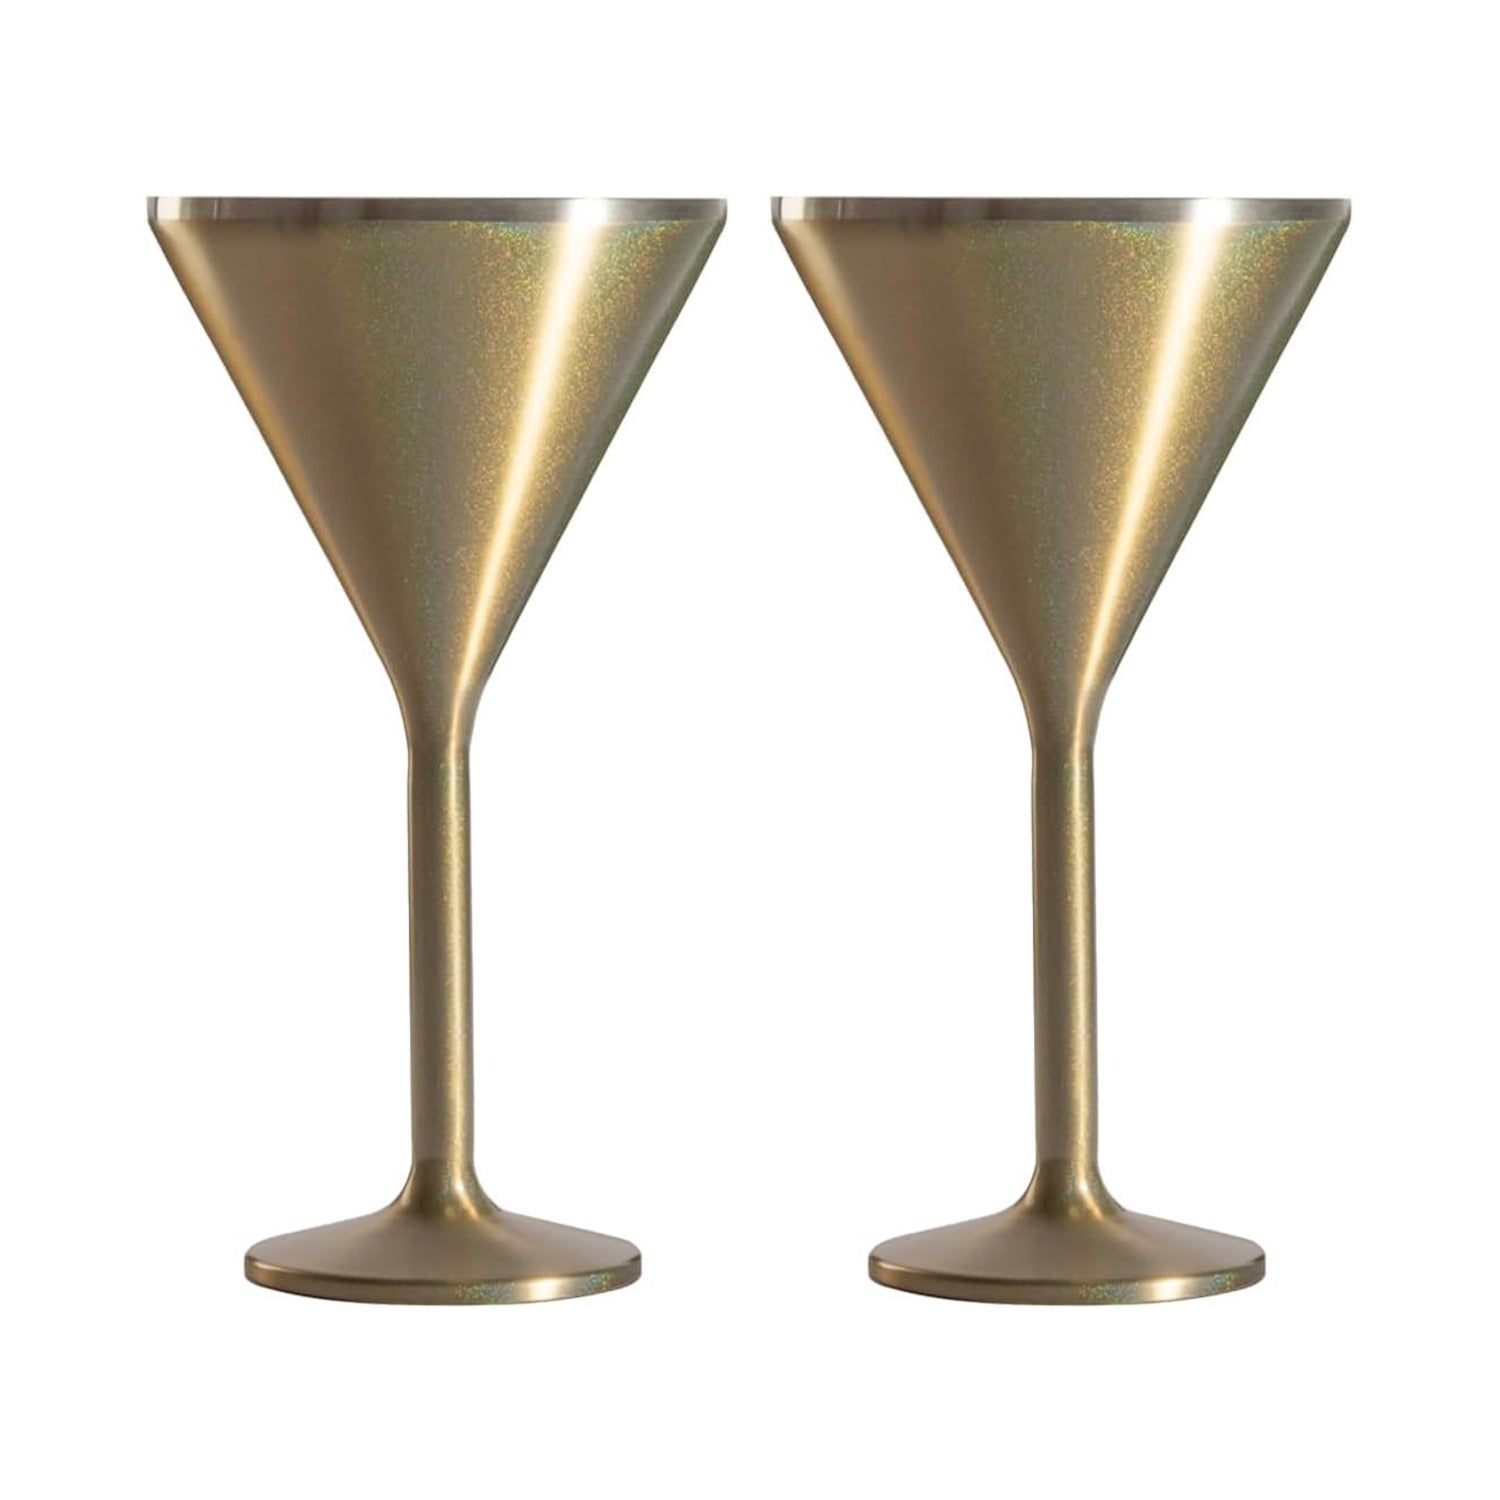
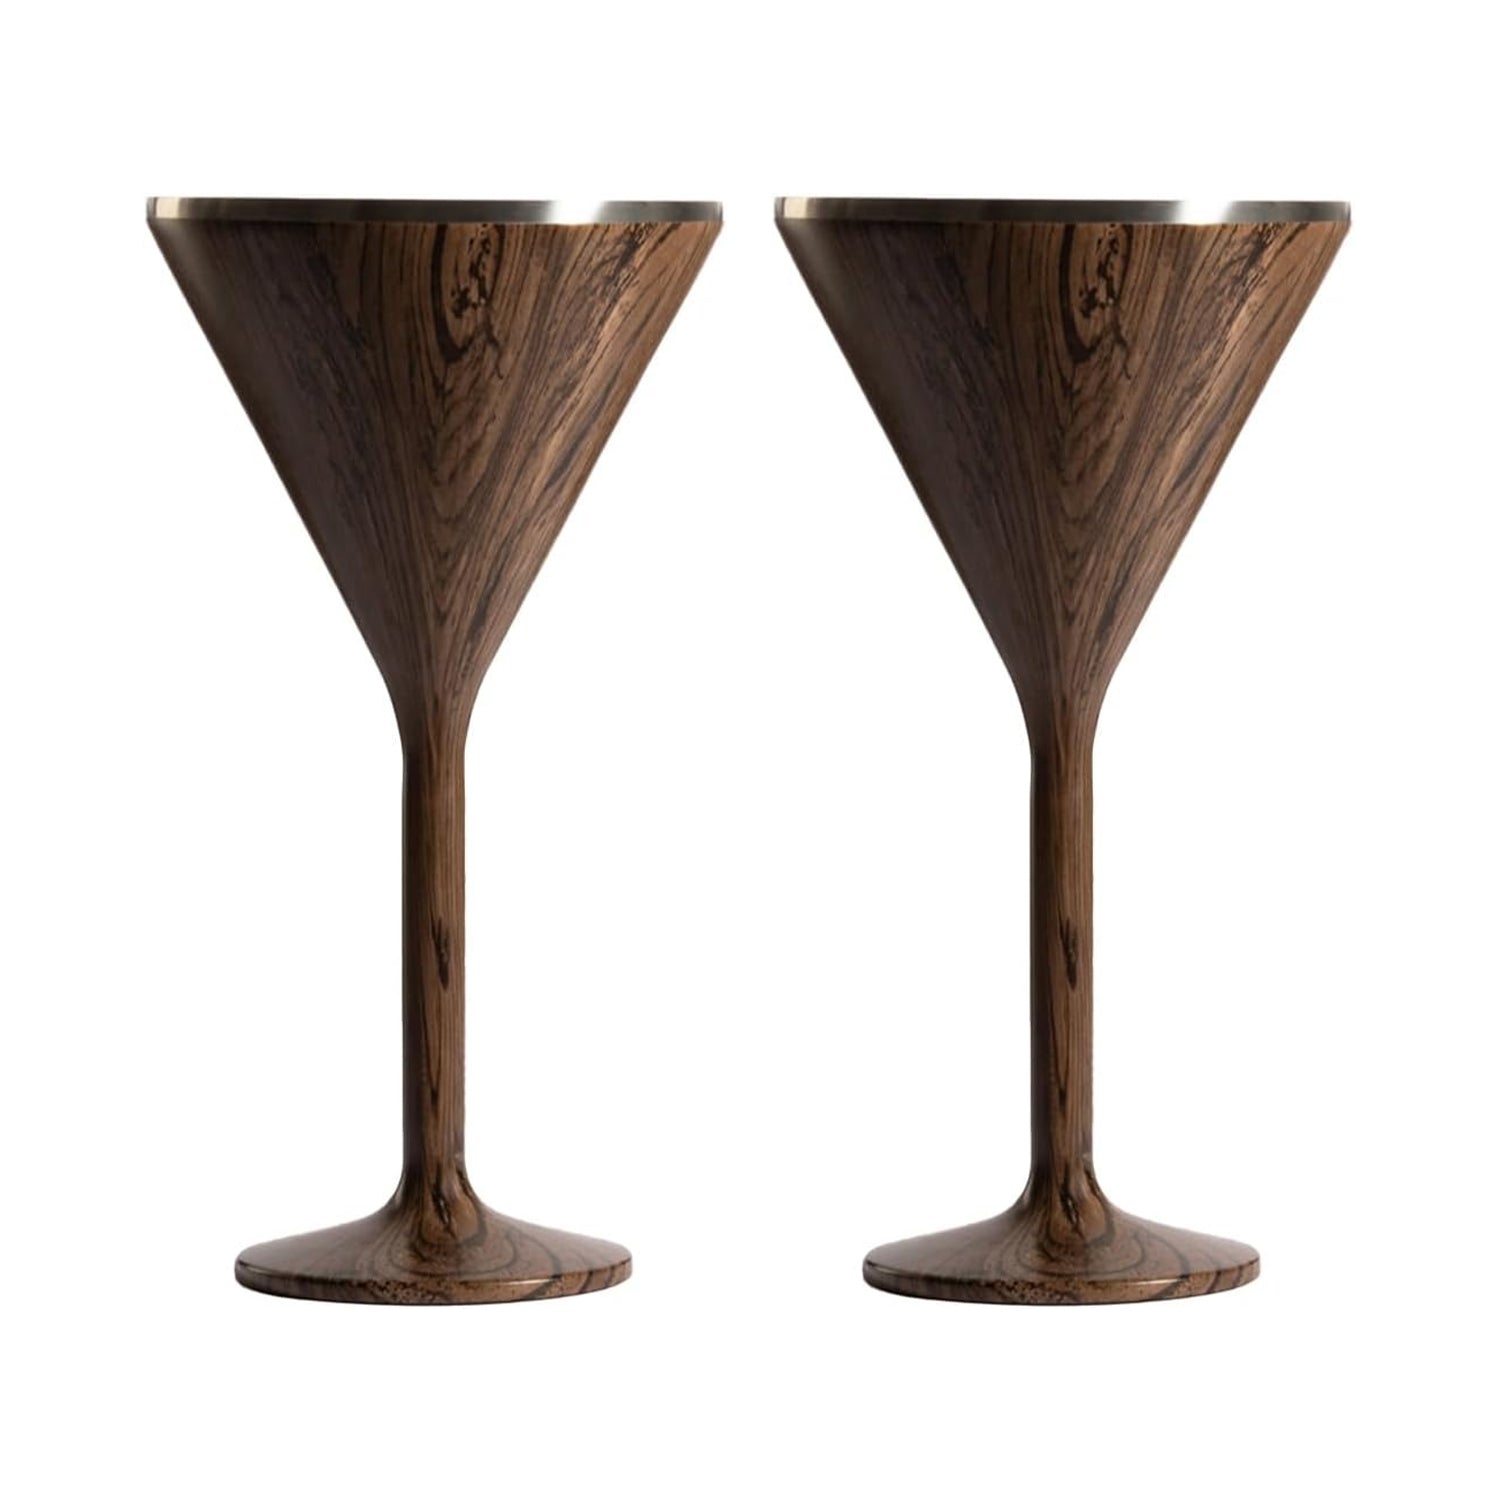
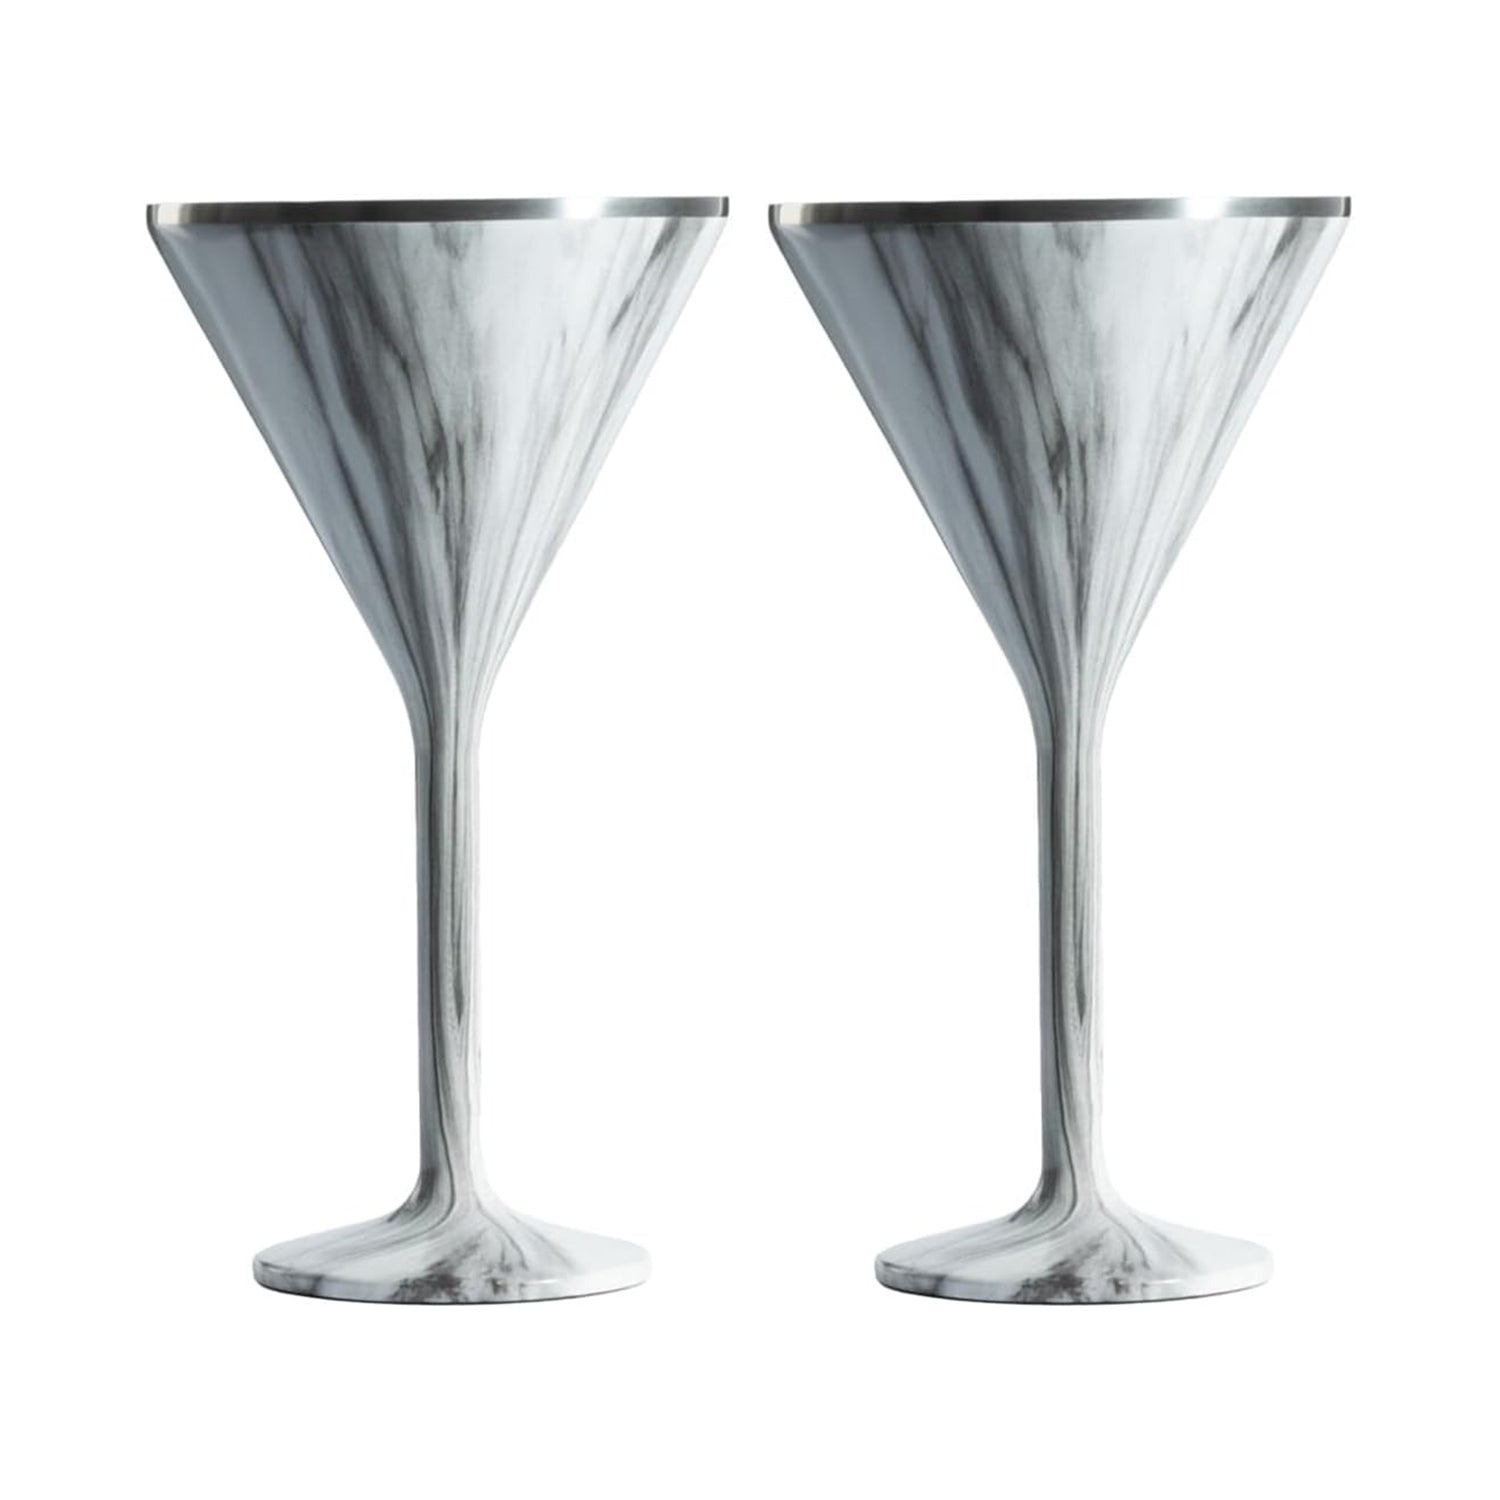
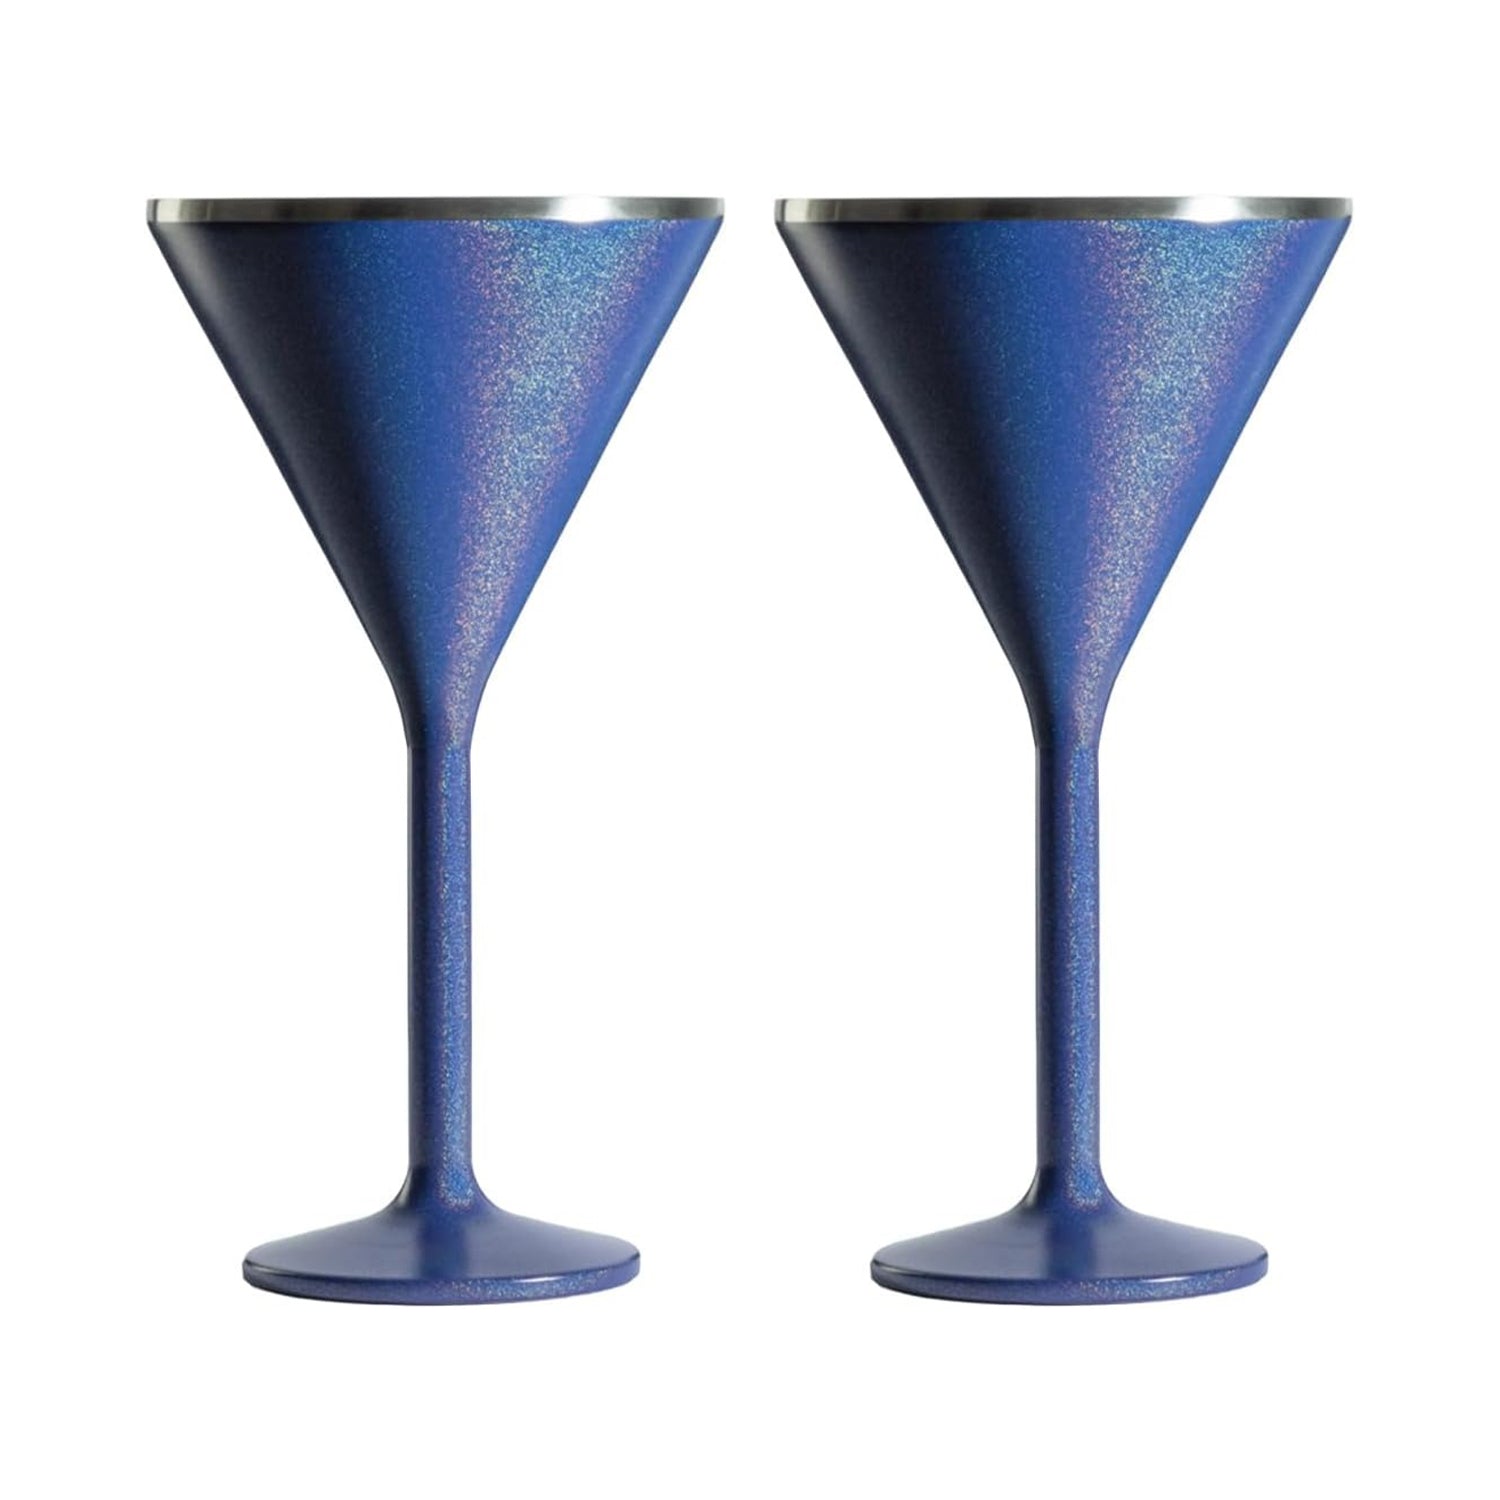
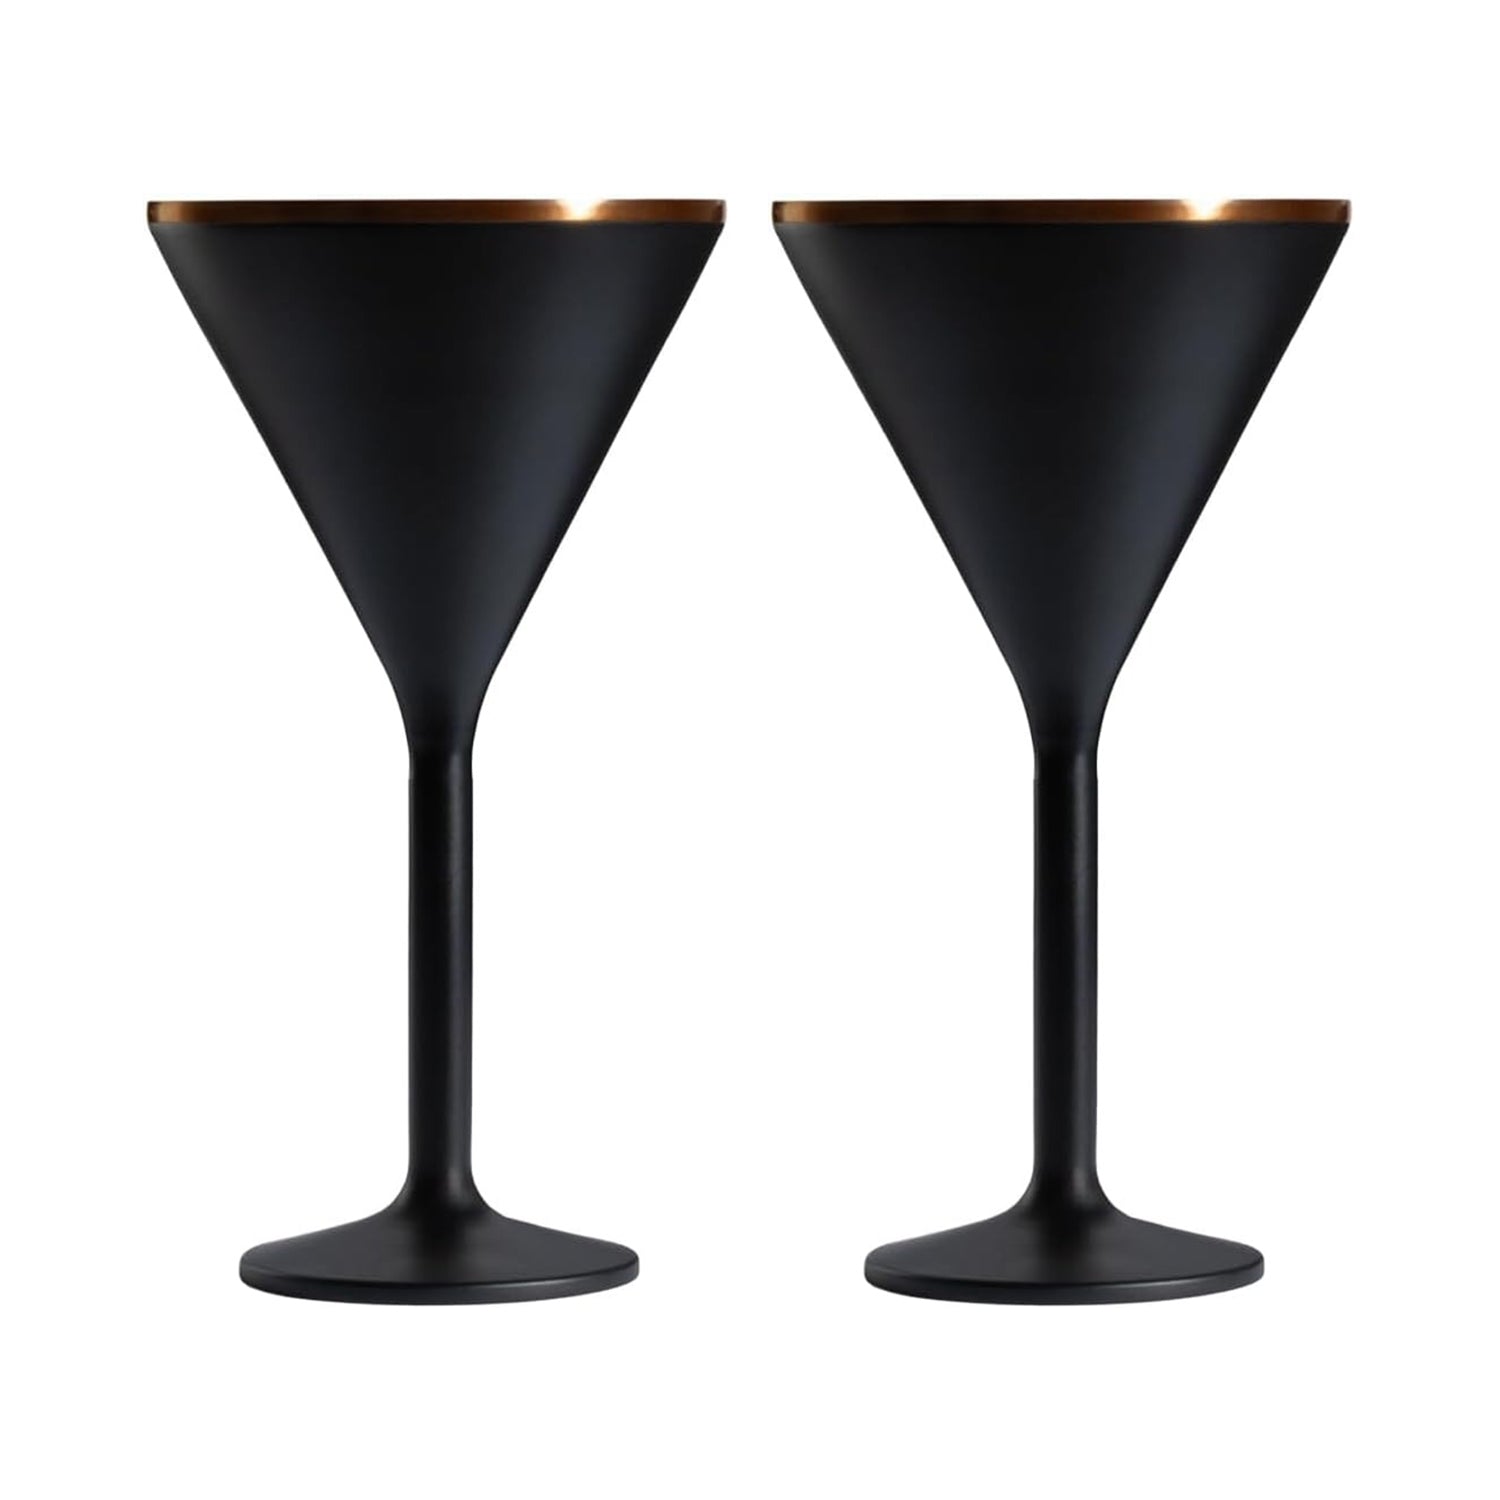
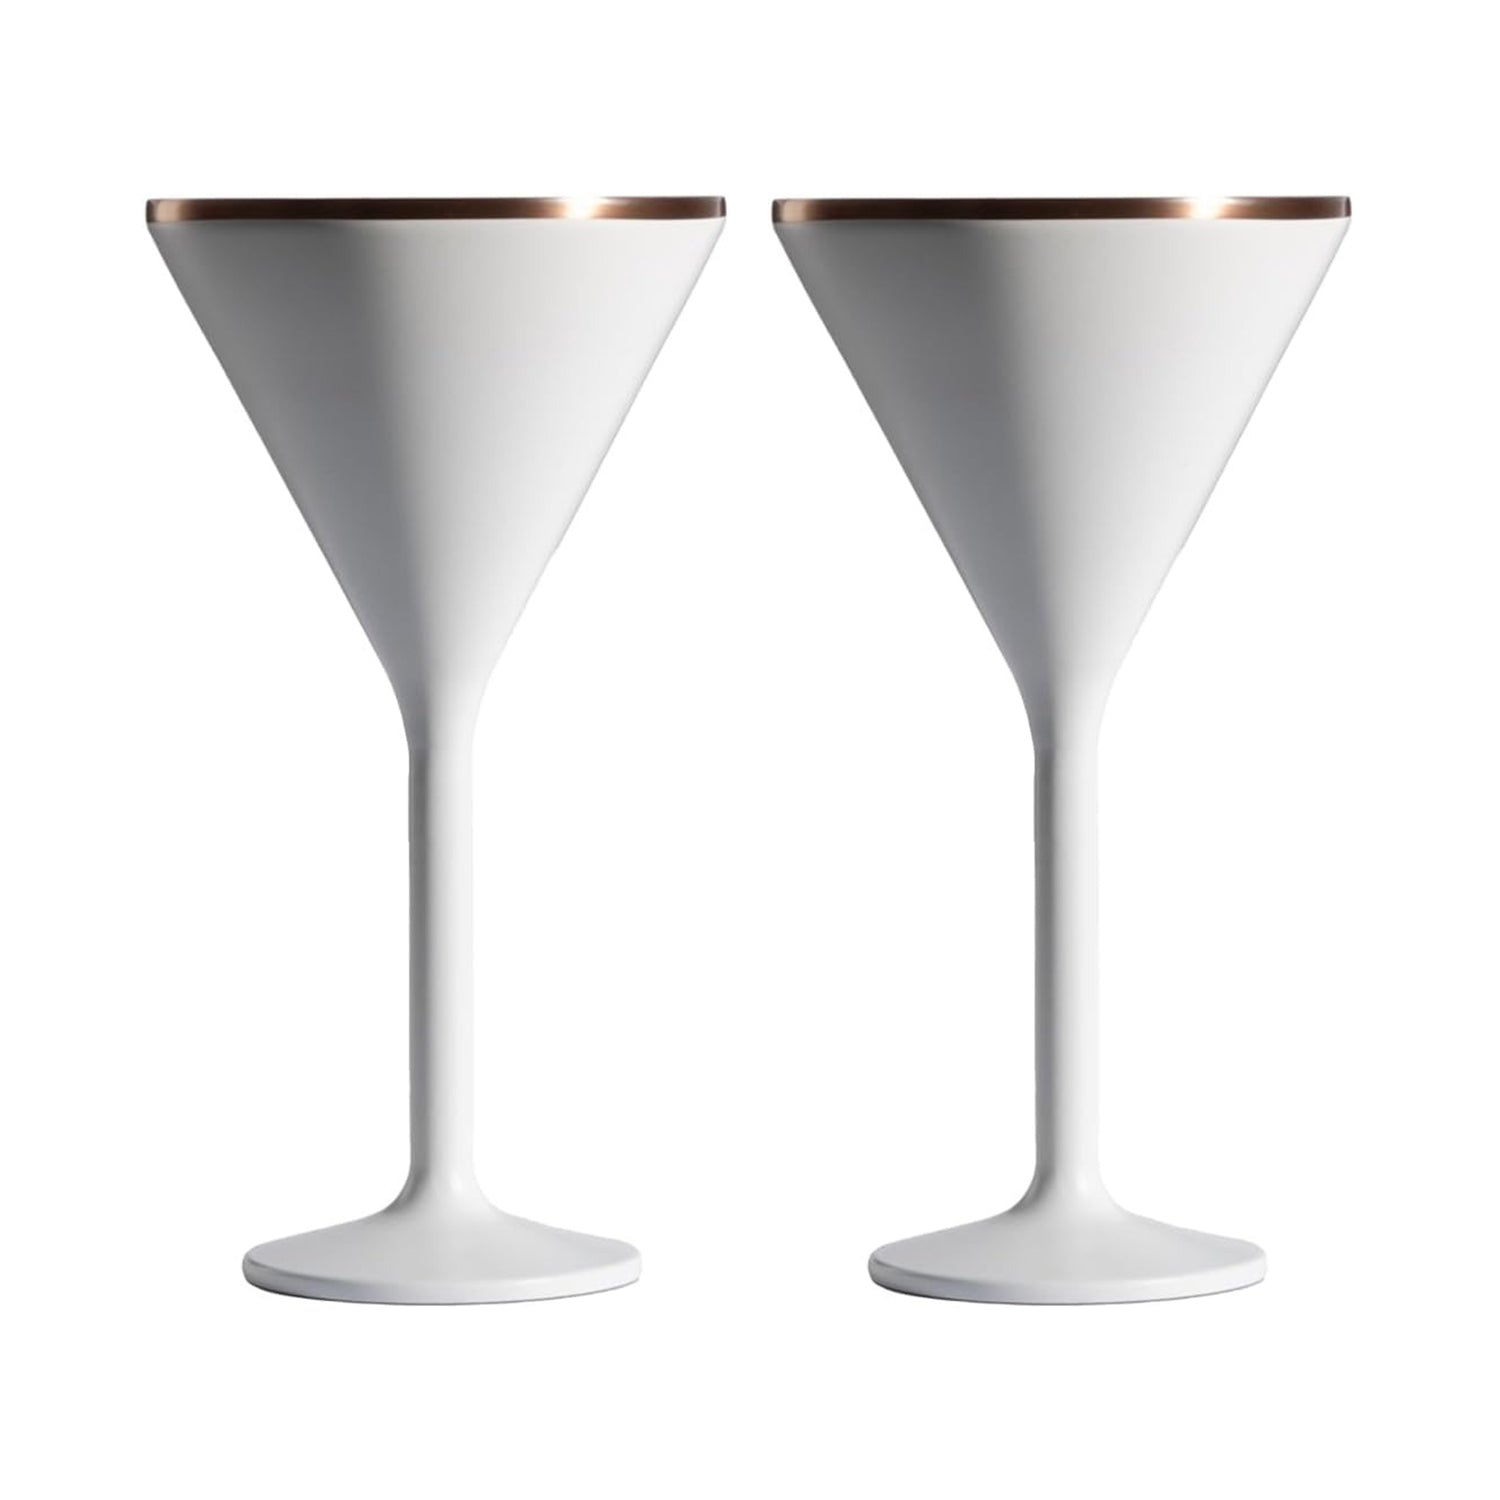
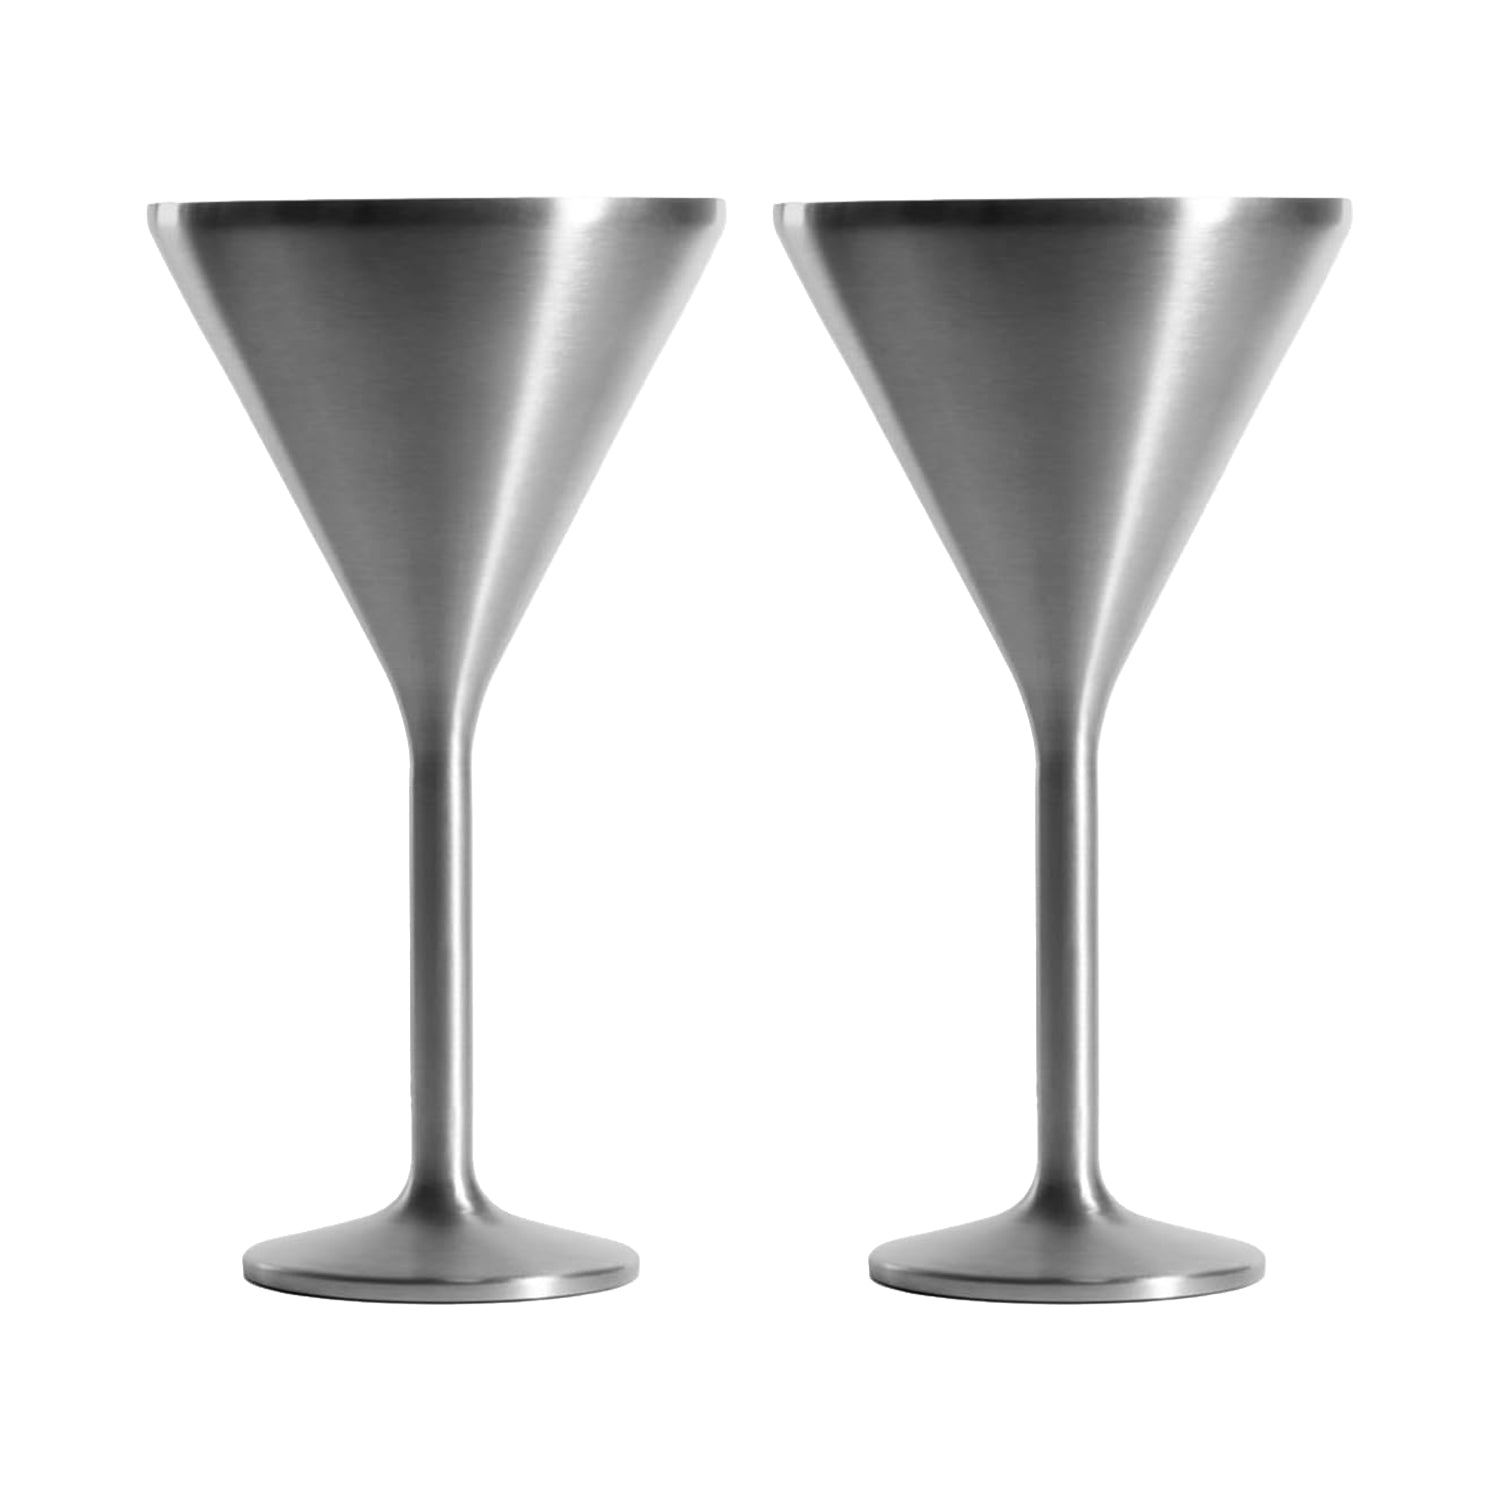
That experience gets even better when your tools are built for it. Snowfox makes insulated cocktail shakers that stay warm and dry in your hand, seal tightly, and include a built-in strainer so you can pour without fuss. The cap even works as a little jigger. Pair it with Snowfox glasses and your home bar setup looks as good as it performs.
When you’re ready to step up your cocktail game, check out the Snowfox collection and find the shaker that makes you want to keep practicing.